
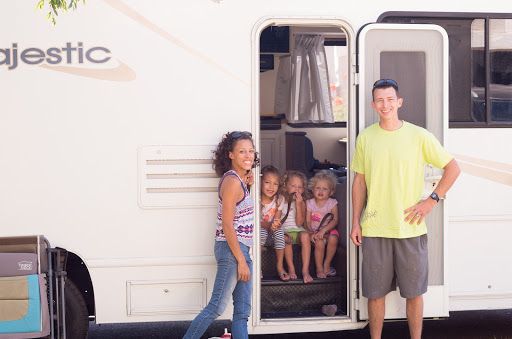
Let’s start with some before pictures:
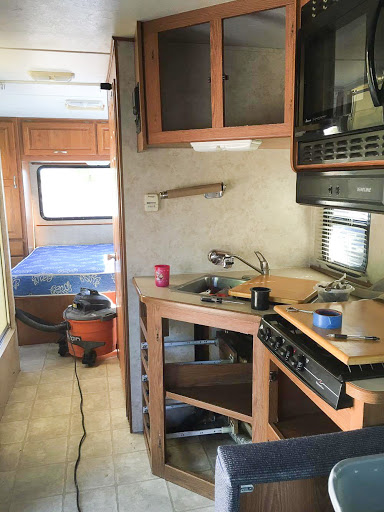
 Started off as a typical looking RV. All in all the
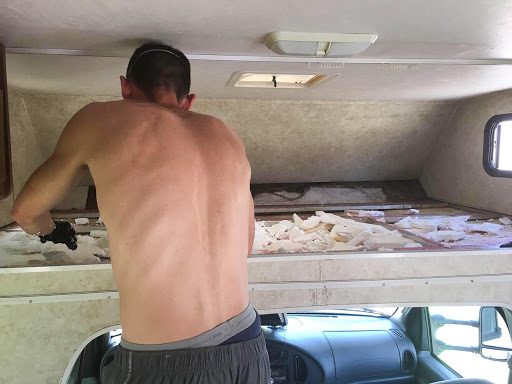
“living” areas were in good shape. It was the bunk above the cab that needed attention. There was water damage from an unattended leak all in the front area. Hubby had to rip out all the “walls” and insulation around the top bunk, and clean out the mold. Yucky business. Then he added new insulation, wood panels and resealed the area. Since all this work was being done, he had to rip out the vinyl walls in the top bunk. So we decided to paint all the walls and ceilings with a bright white latex paint. It was a custom color paint left over from our bathrooms so I can’t tell you the name.


While he worked on that portion of the RV, I started in the back. Since we were painting the walls we went ahead and decided to redo the cabinets as well. We have a lot of left over paint from other projects and rooms in our houses so we just reused most of those. In the back bedroom we used Glidden Shaded Ice for the walls (also in our bedroom at home) then for the upper cabinets we used Glidden Smooth Stone (middle daughters bedroom walls) and lower cabinets BEHR Sparrow (youngest daughters bedroom walls). I was pretty used to painting cabinets since we just did our kitchen cabinets. So this was just more of the same. Sanding, priming (2x) sanding, painting, sanding, painting. The only difference was the paint for these was not the Advance super durable paint, so after I finished I did spray a water based protectant on the cabinet doors to make them a little more durable.

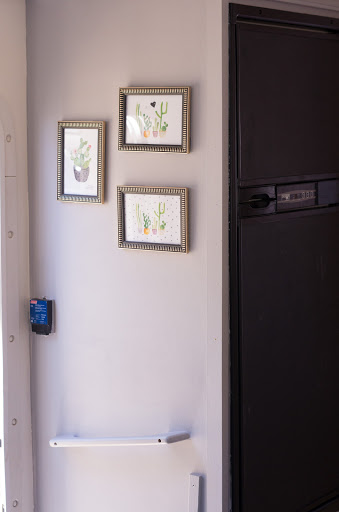 |
| As you enter the front door. These cactus prints were free printables from Pinterest. I should have saved the link…SORRY! UDATE: HERE ARE THE CACTUS PRINTABLES and MORE. The Fridge is painted with chalk board paint. We may do some art on there or use it to record lists and info from campsites. |
 |
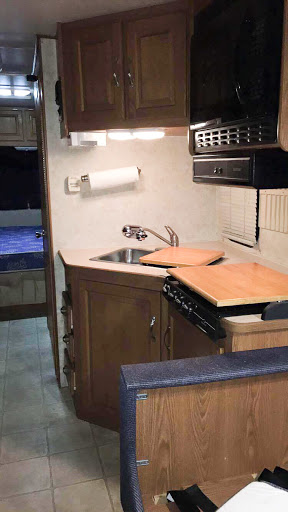
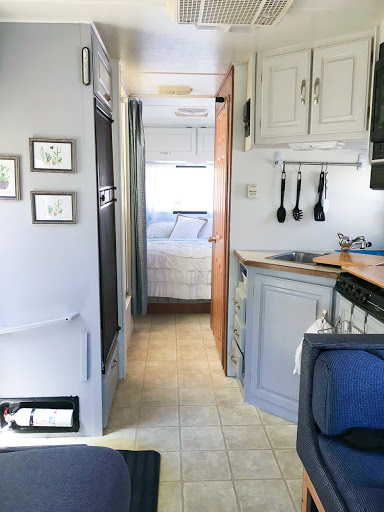
| This is the fresh new kitchen. Through a small hallway there is the master bed. The door is the bathroom (we opted to leave it as is for now) Across from the door is a stand up shower. |


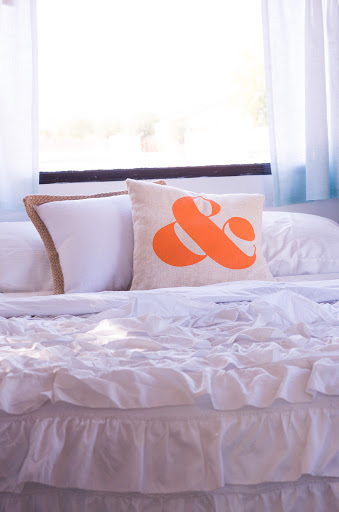 |
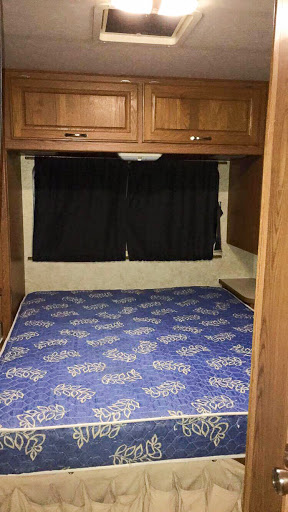
| I tried to repourpose as much as I could. The curtains in here were from my bedroom, and I don’t use them anymore. The Bedding as well. All other items and linens were purchased at IKEA and Walmart. We also used towels that no longer match our house in the RV bathroom. There was no reason to spend a fortune and it could still be pretty and cozy!! |
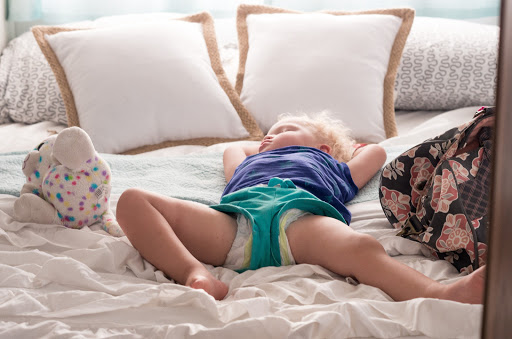 |
Perfect spot for a nap.
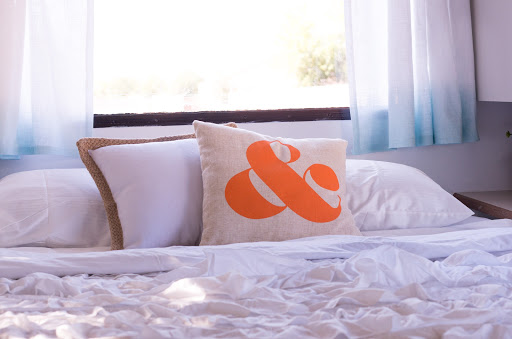 |

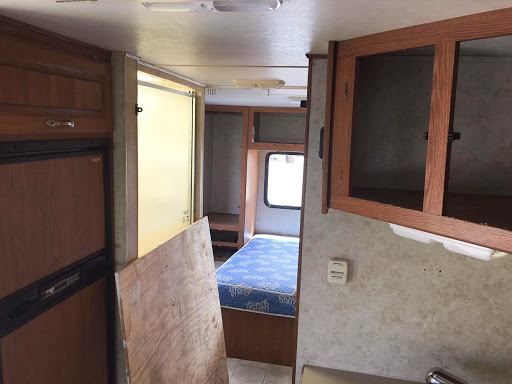
Here is the area that NEEDed to be redone. All new walls, no leaks or mold! This is where the 2 oldest kids slept. But everyone loves to play up there. Since we had to replace the custom mattress that was in this bunk, we decided on a queen sized foam mattress. It isn’t long enough to cover the whole bunk, but in that extra area I added soft toy bins to hold all the things the kids like to travel with. My oldest really wanted some pink in here. I wanted to keep it neutral so we settled on a pink throw pillow and its the perfect pop of color.

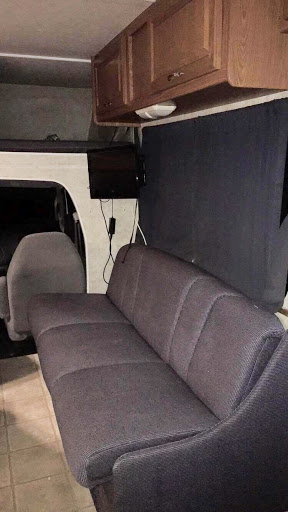
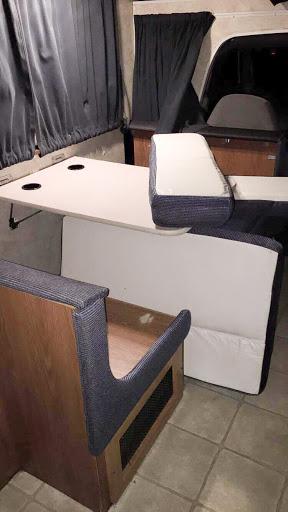
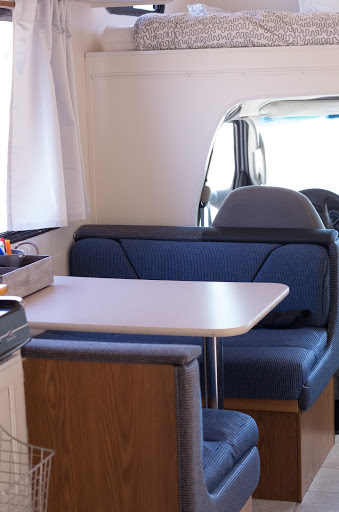
All the windows received new curtains. They aren’t dark, light blockers, but if we need to really block out light I have extra darkening shades we can tack up. I wanted the rooms to be as bright as possible. I like light and airy spaces in my home, so I wanted it that way in my home away from home too. This couch folds into a bed, this is where the baby slept. The upholstery was in good shape and I actually like the colors, and planned my color scheme around them. Just cleaned the bench cushions in the washer and gave the couch a clean with my carpet shampooer.


One thought on “RV/Camper renovations!!”