Coming into the new year, I always find myself wanting to organize all the things. And this new year it was time to revisit the pantry. About 3 years ago almost I did an organization project on a major budget. And it was good, but this time I went all out.
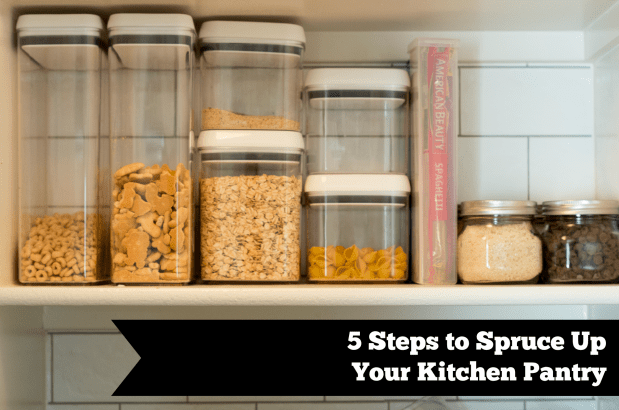
Here is where I started. Not too bad, obviously organized and labeled and a good use of the space. I am very pleased with my pantry size, especially coming from a home previously with no pantry. For our family of five (actually six now!) this is wonderful. However, blue and white bins were from the Dollar Tree and we not very sturdy. Also, since my kids are packing their own lunches, I wanted more spaces for them to see their food options and finally; it was just dark and sad. Here are a few simple steps I used to change this small room from drab, to fab.


1. First things first, purge!
Hidden in this pantry were expired items I never used, or foods we just never touch. I cleared out everything expired or items I had not touched in the past 6 months and tossed them.

2. Next up, SORT!
Food was everywhere and it took the whole day. But the result was so worth the work. I used my counter space and sorted food into categories of how I use them. Such as: lunch supplies/snacks, spices, oils, cans and jars, breakfast, bread, baking and sweets.
3. Now, let’s prep!
Time to scrub off those shelves. I replaced my old contact paper with a crisp white shelf liner. Scrubbed the floors and walls to ready the room for the food to go back in. I also had some left over wall paper from my laundry room refresh so I decided to cover the walls with that.
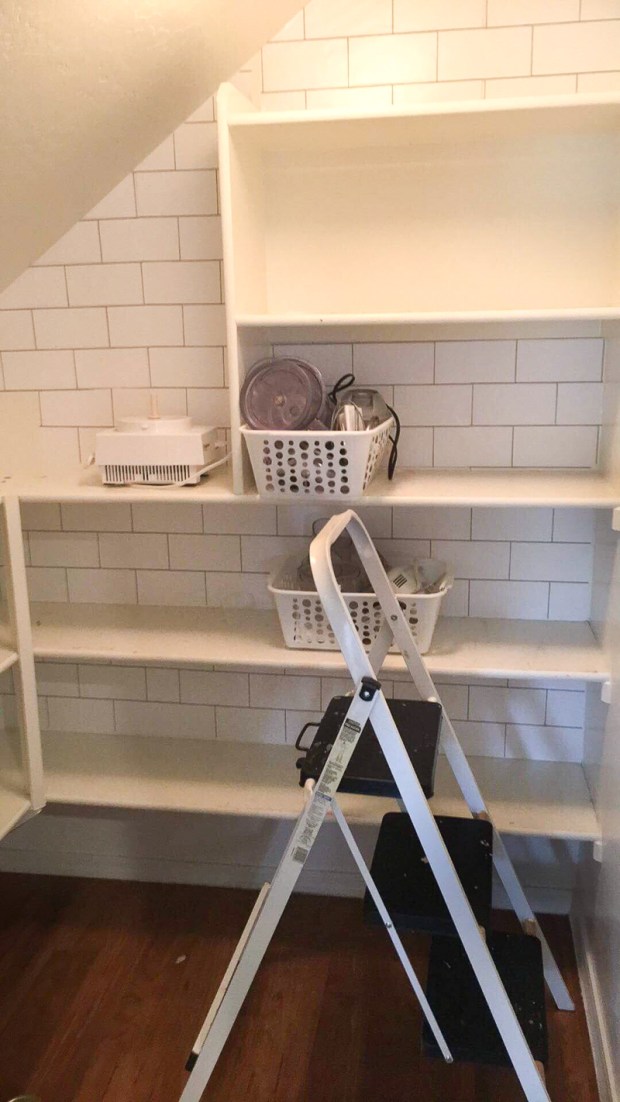
Such an amazing change. This is removable wallpaper from Target. It is the subway tile design, and while it does not look great on the roll I am very impressed with how it looks on walls. it is fairly inexpensive and a perfect option for updating a small space.
4. Organize!
After the wallpaper was hung, I took into account how many categories of food I had sorted. Then, gathered some quick measurements and I rushed out to Ikea and Walmart to upgrade my bins and baskets.

I knew it wanted a simple spice rack and needed to add some turn tables in the corners of the shelves for added storage.
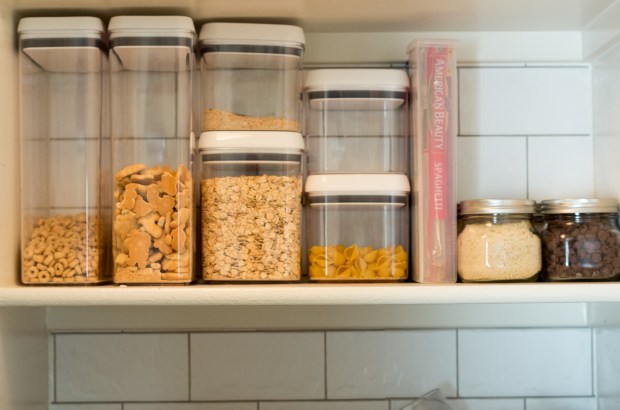
I decided to put the dried goods in these lock tight containers that I also found at Walmart, plus the breadcrumbs and small baking goods in mason jars. I kept the large containers for rice and flour. Plus, my overflow pasta I store in the larger pantry where my freezer lives. Yes, we have TWO pantries. It’s wonderful.
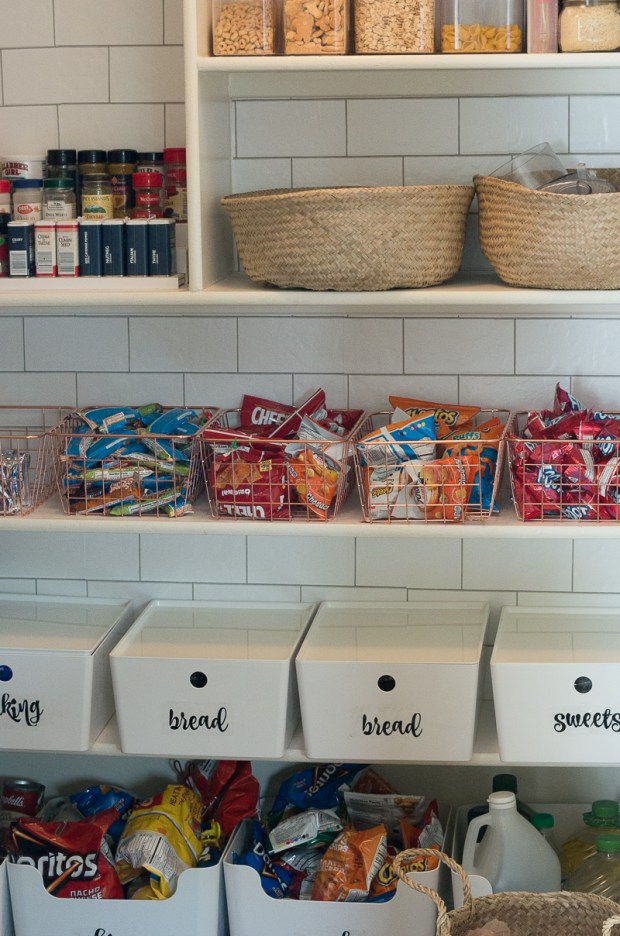
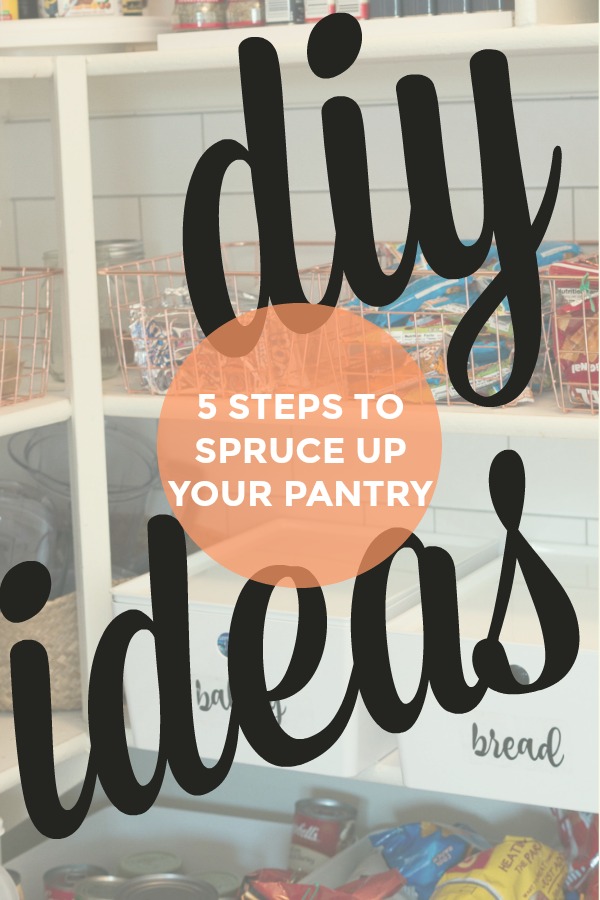
I found these adorable copper wire baskets at Walmart and was just very excited about adding a metal element, since otherwise I would have every little color. They fit just right on the shelf and hold all the snacks the kids use in their lunches and after school. The white bins and baskets are from Ikea. The baskets are the FLADIS, folded over. Inside them are potatoes, parts from my food processor and then one lower that is holding extra plastic bags. These are the white bins, the I love how they have a lid, if I need extras later I can start stacking them, The larger ones on the bottom hold so much, they are the PLUGGIS.
5. Finishing Touches!
To help my family members stay organized, I made the labels using my printer and packing tape. It is a very simple tutorial that I have blogged about before here: DIY Cleaning Supplies and Labels. On the other side of the pantry we store our small appliances.

I have to say when I come in here to grab food, I am so much happier. And it has stayed nicely organized, the whole family appreciates being able to find what they want easily. Do you have a pantry space that could use a refresh? I hope some of these idea helped!
Thank you for stopping by, let me know if you were inspired by this post; would love to hear from you!