I am just a project fool over here lately! I finished a plate rack and I wanted to share about my experience using Milk Paint for the first time.
Here is the before:
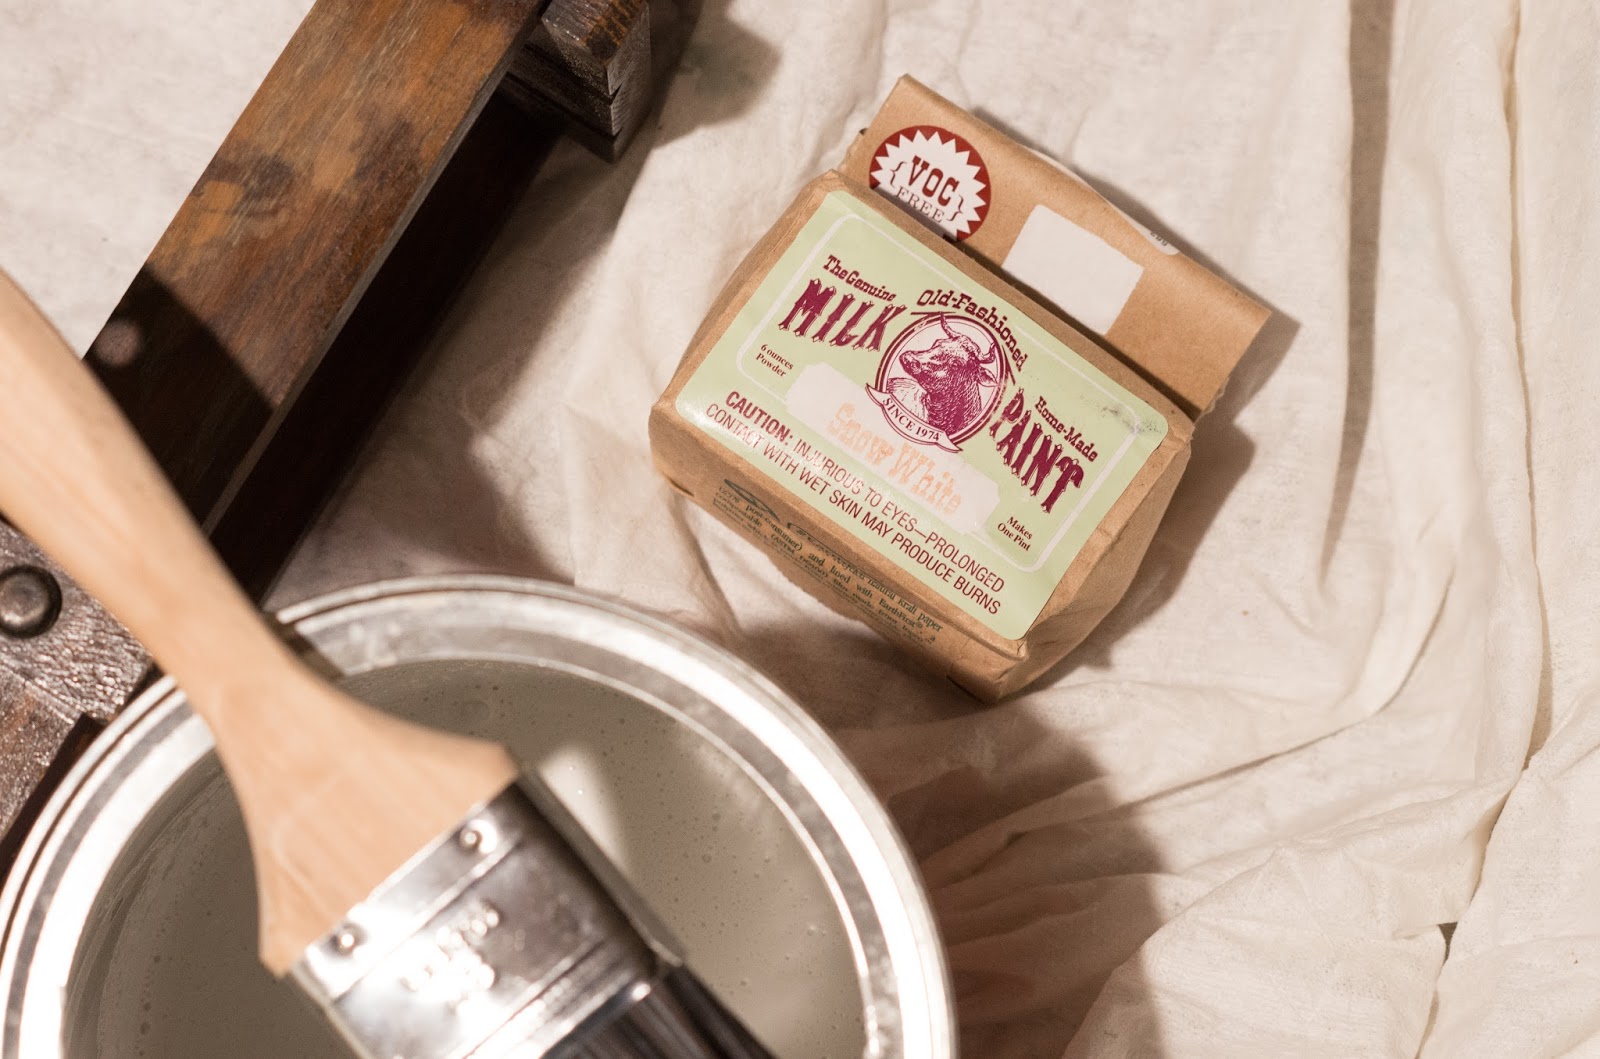
It was a craigslist find, and I got it pretty cheap! It was a really dark wood, that just wasn’t going to match. There were also some water stains. It was dying to be redone. The color I picked was Snow White, because the pictures I have seen of other platter racks were crisp white and it was just the look I was going for. But, I was excited to use the milk paint, because I wanted it to look chippy and old. I have seen that this is THE paint to use to achieve that look. I am also thinking about redoing my table with a chippy, pulled out of an old barn look, so I figured I would experiment with something small first.

In order to prep the piece I cleaned it with this furniture cleaner, sanded it and sprayed it with Shellac…I am not sure if I would do all this again. I was afraid that since I wasn’t using raw wood I needed a lot of prep for the paint to stick, but I wanted it to chip a lot more than it did, so perhaps if I had skipped these steps I would have gotten more of the flakiness I was trying to achieve. More on that later.
Time to paint! When mixing the milk paint you do 1 part paint with 1 equal part water. The first batch I mixed I used warm water, and there were a lot of clumps. The second batch I uses hot water and it mixed much better. I also let it sit for 10 minutes. Now the first coat had me pretty scared. It was thin and streaky…but there was a little bit of that chipping happening that I wanted. See it in that top corner??
Even the second coat was less than ideal…
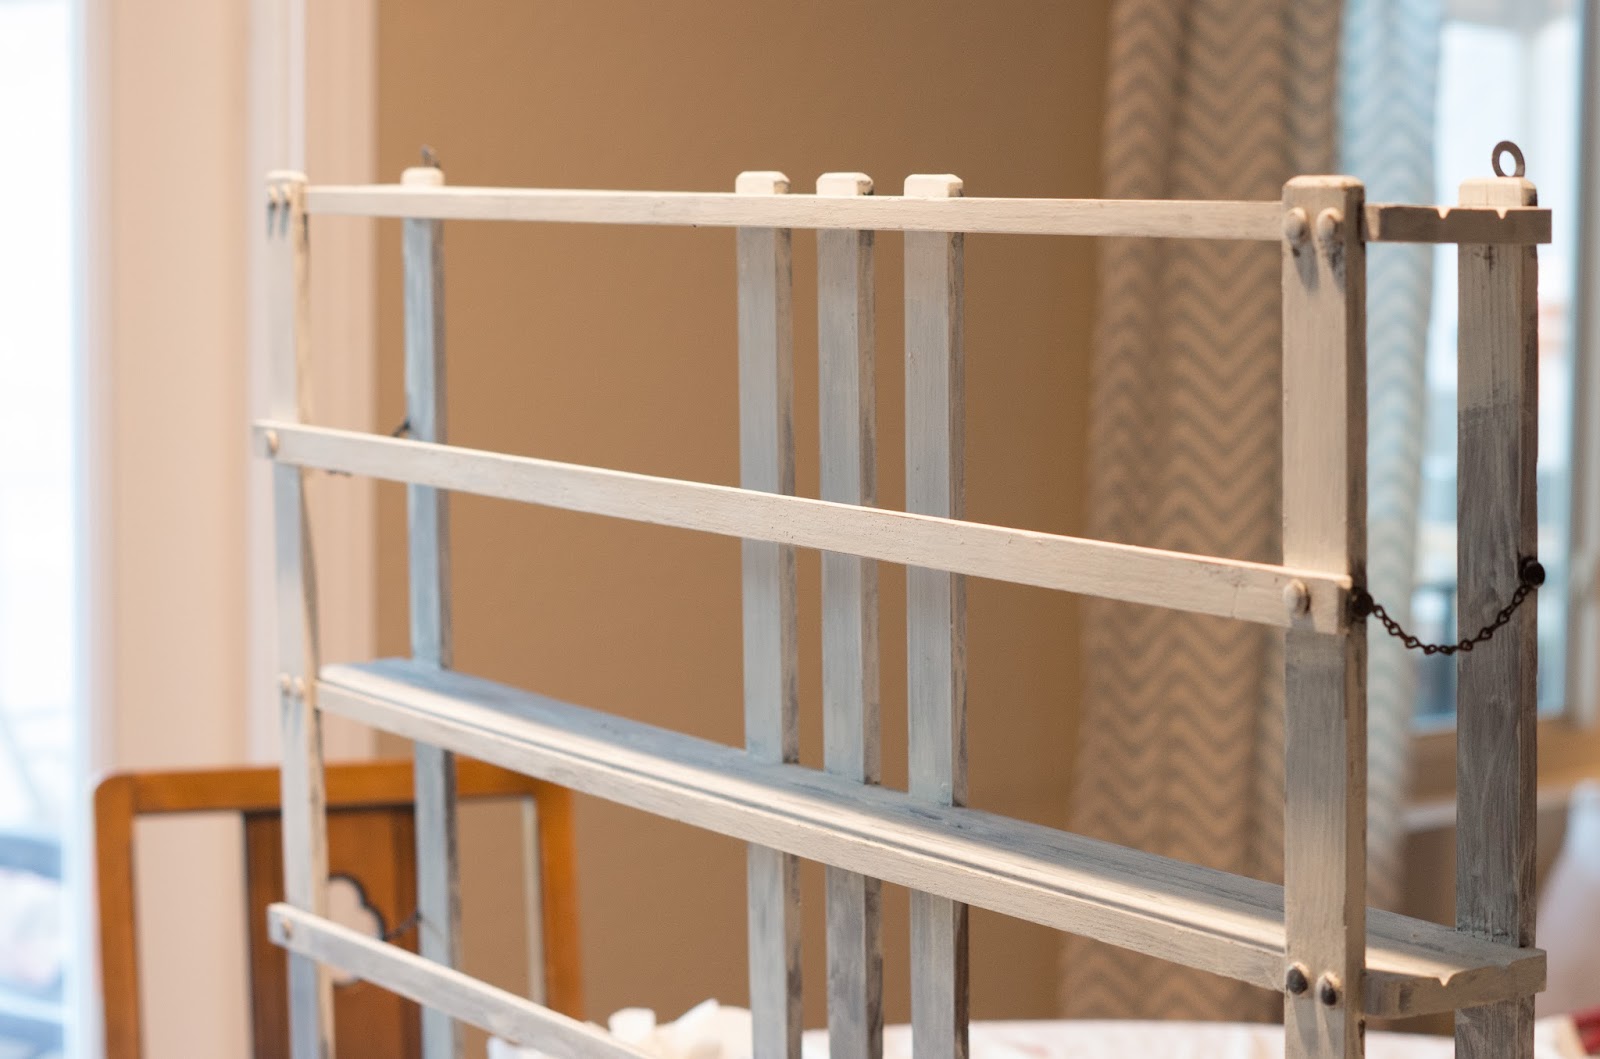
Luckily the 3rd coat started looking like what I had pictured. I just kept applying paint ( I felt like it coated better after a little time in the fridge…but that could have been my imagination) and lightly sanding between coats (waited about an hour for the paint to dry )
When I thought I was totally finished I really sanded, I tried to chip and distress the areas that were already chippy make it look antiqued or old. I think it turned out nice. Although you can’t see to much of the distressing in these pictures. Once I have it hung and styled I will get some better shots! Final thoughts, I will use the milk paint again and I am excited to see how it turns out on my kitchen table.
Until then, thanks for stopping by!
*I received no compensation or products,
and I am not reviewing these brands, just personal opinions or whatever 🙂