
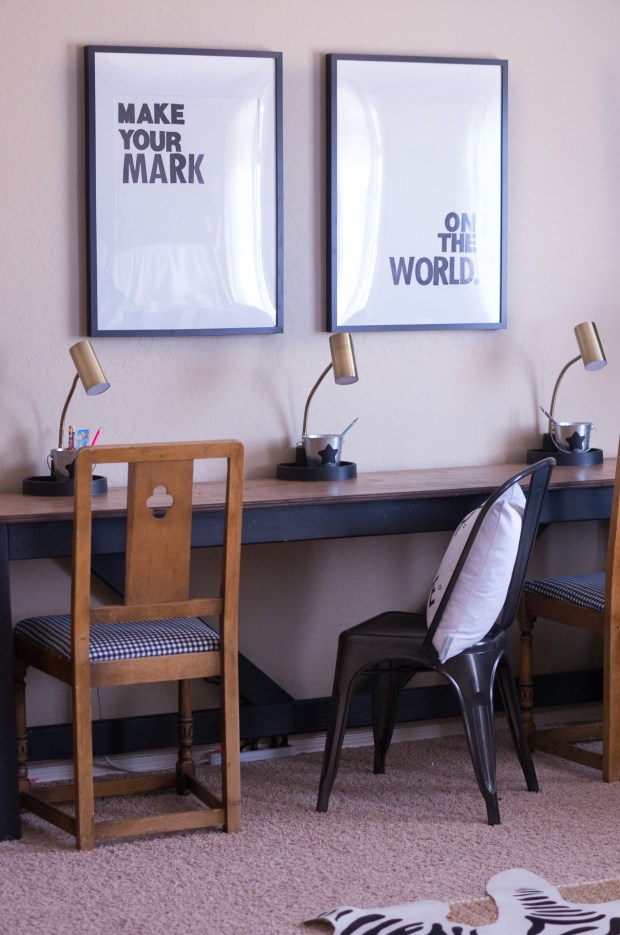
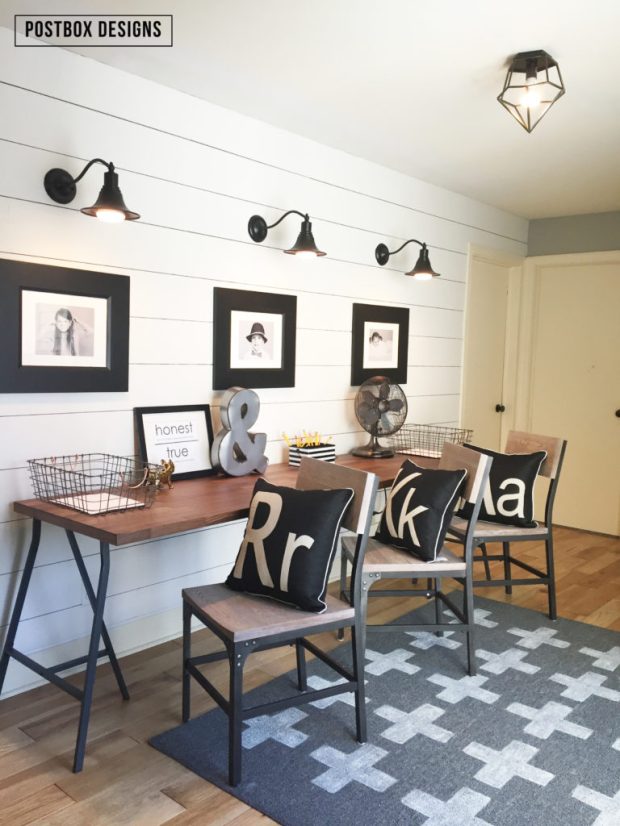
We recently procured a great new desk table for our playroom, and I was anxious to create a work station for the kids. I am hopeful that is area will grow with them and become a place where they can do their home work or later add a computer. Since this is added to our already decorated playroom, I wanted to keep with the same color scheme. Luckily the desk was already black and wood. The first thing I like to do when changing a space is create a vision board. This helps me keep focus and also gives me a direction for what I’m looking for.
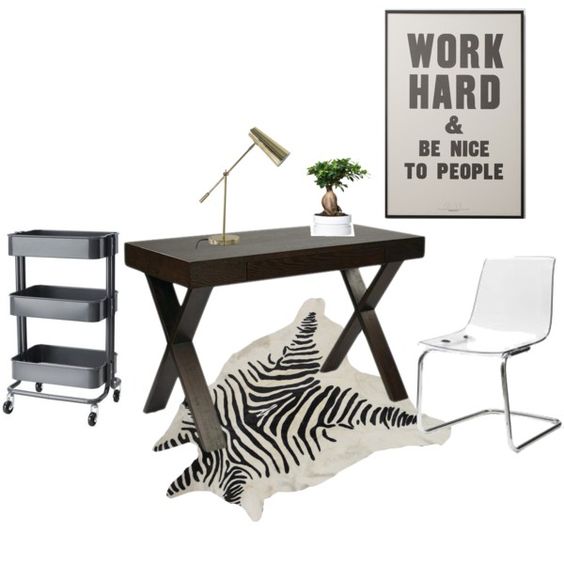
Browse the items in this set here.
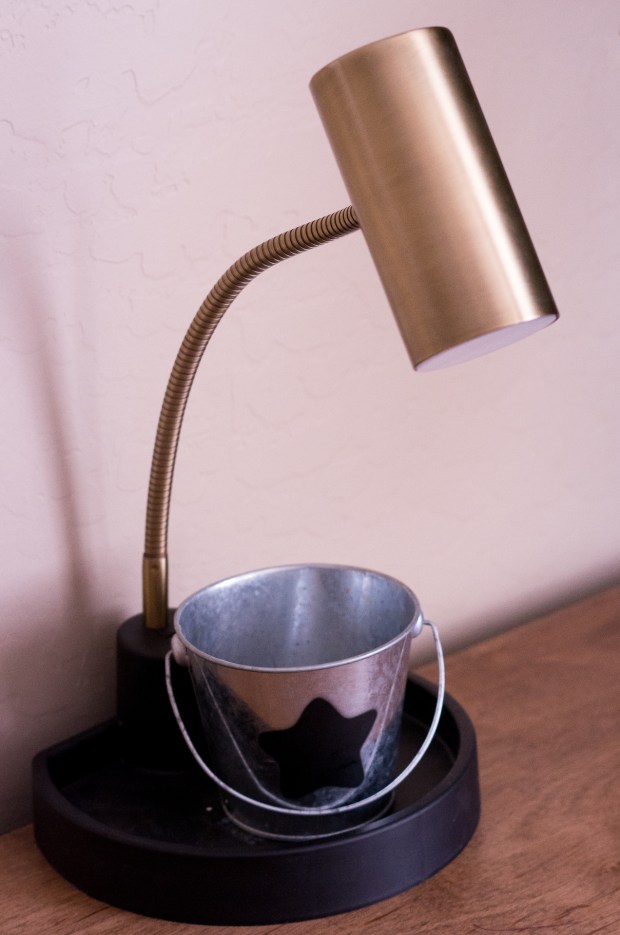
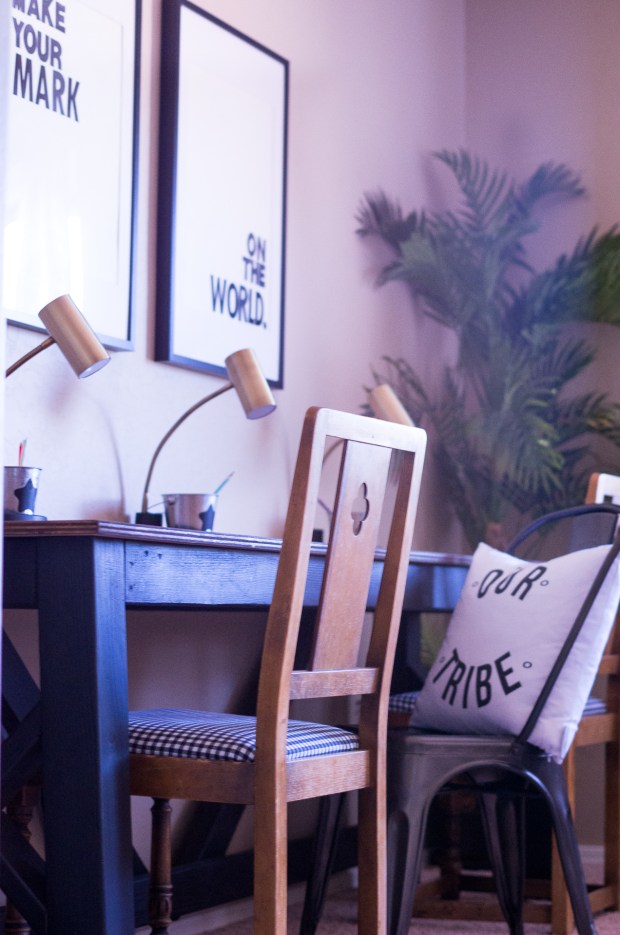
Since we have 3 kids, I thought it would be helpful and cute if they each had their own work lamp, and chair at the desk. Oddly enough I started with the lighting. I found on clearance at Target. They are very similar to the look of my vision board for half the price. These were $13 a piece, but they were clamp lights. I figured out I could I remove the clamp on the bottom and they became desktop lamps. Each lamp has little area for them to keep some of their own supplies, and even a USB charging station.
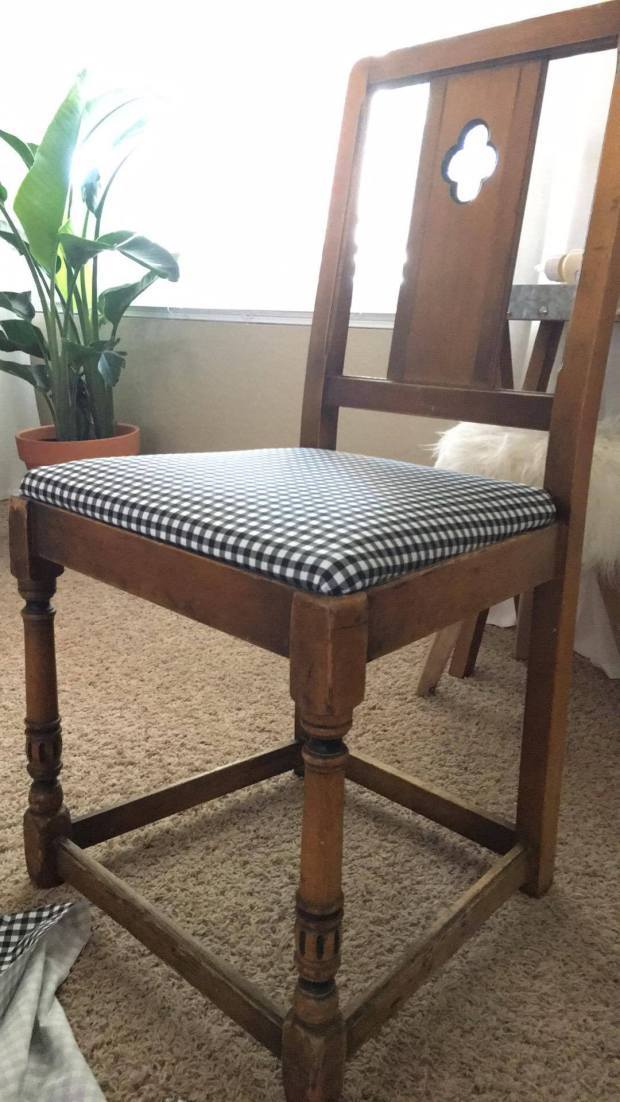
Next up was seating. Originally I loved the idea of having ghost chairs in this space. Kept it looking uncluttered and you could see the detail of the legs under the desk. I had planned on three IKEA Tobias chairs, and I was going to spray paint the legs gold. I still think they would look great. However, while looking for my Halloween decor in the garage I stumbled upon 2 of our old dining chairs. I also had a metal farmhouse chair hanging around. So to save some more cash and cut down on more furniture, I decided to give these a little make over and make them work.
Here are the chairs before:

I didn’t really want to paint the wood, but the seats did need a refresh. I picked a black and white gingham print that stuck with the color scheme but also gives a farmhouse vibe. I removed the seats with a screw driver and just covered the old fabric with the new, stapling it to the chair with a staple gun. At the corners I gathered the fabric and stapled.

Took about 15 minutes for a new look.
Here they are along with the other chair and the table. Pretty good for some chairs I almost forgot about.

Almost there. Now I needed a place to store all their materials. Right now they will use the desk for arts crafts, and lots and lots of Legos. We are using this cart on wheels to hold all these supplies in organized bins. This is the Raskog Utility Cart from IKEA.
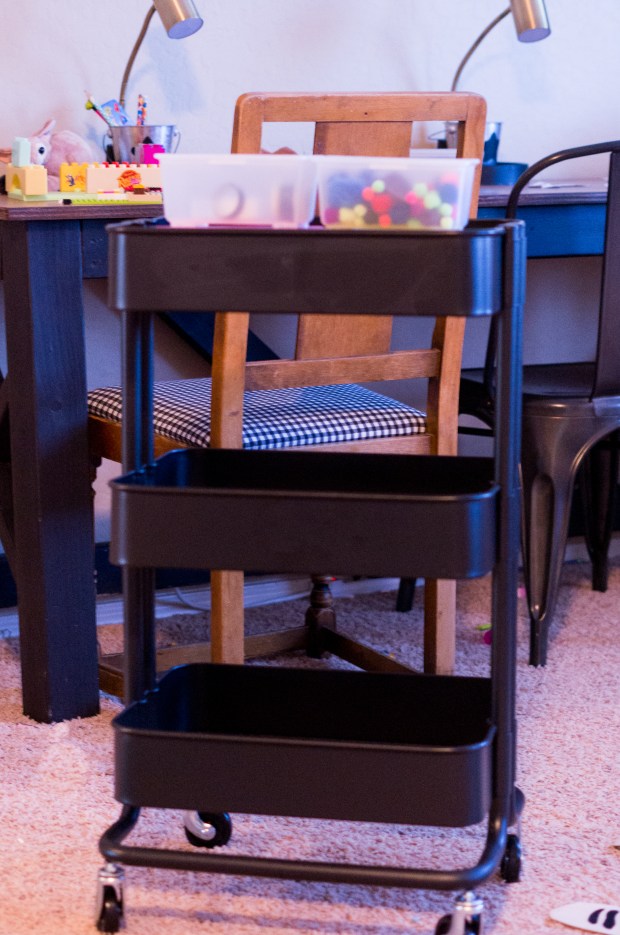
Crayons, glue, scissors and other little crate items stored in these cute stacking bins. Also from IKEA (this is NOT an ad for IKEA…right??)

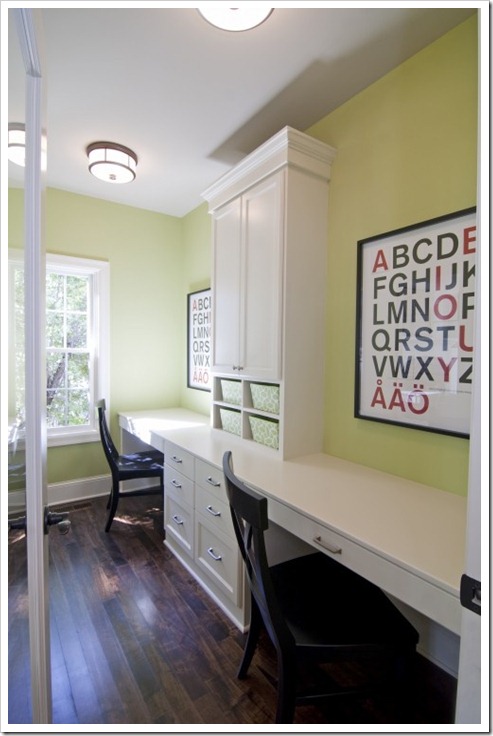
For the finishing touch; it was a bit boring over here on the wall. If I knew for sure this was staying in this exact spot, ( I have a tendency to move things a LOT), I might have put the lighting on the wall or created a feature wall. For instance shiplap, or board and batten or wallpaper would be a really nice focal point. Or even some floating shelves. I will add some fun examples of other options at the end of this post.
However, like I said I’m not sure – this could change to another wall one day. Instead I went with some pretty simple word art. I made these with poster board, stencils and a sharpie. They are also in IKEA frames.
This desk is ready for some serious work.
Ok, not that serious. Hope you enjoyed. Adding some links below to some other homework stations I love.

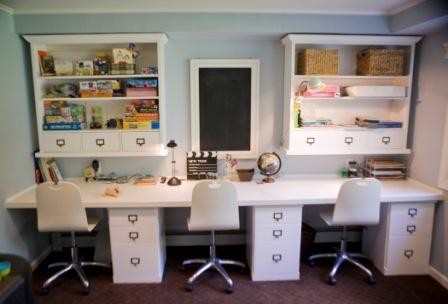
More Ideas:
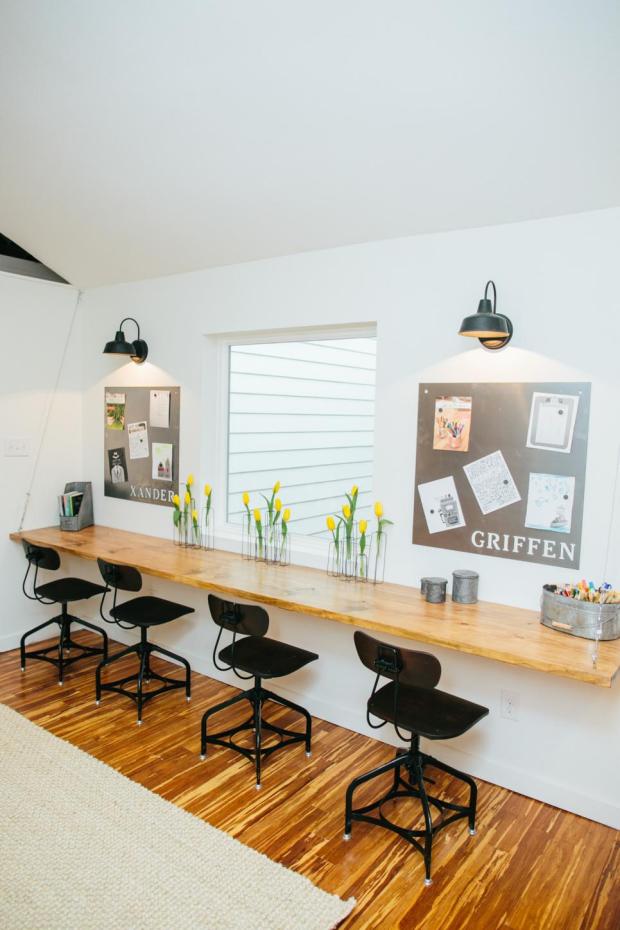
Via Houzz

Your homework station is awesome! I love the way you organized everything for the kids. Where did you find the large desk?
LikeLike
Thanks Tracy, it was actually a custom desk. I think the plans for large farmhouse table are probably on Pinterest. We actually didn’t build it, although I am sure my husband could have. We bought it second hand from a friend who was no longer using it.
LikeLike