
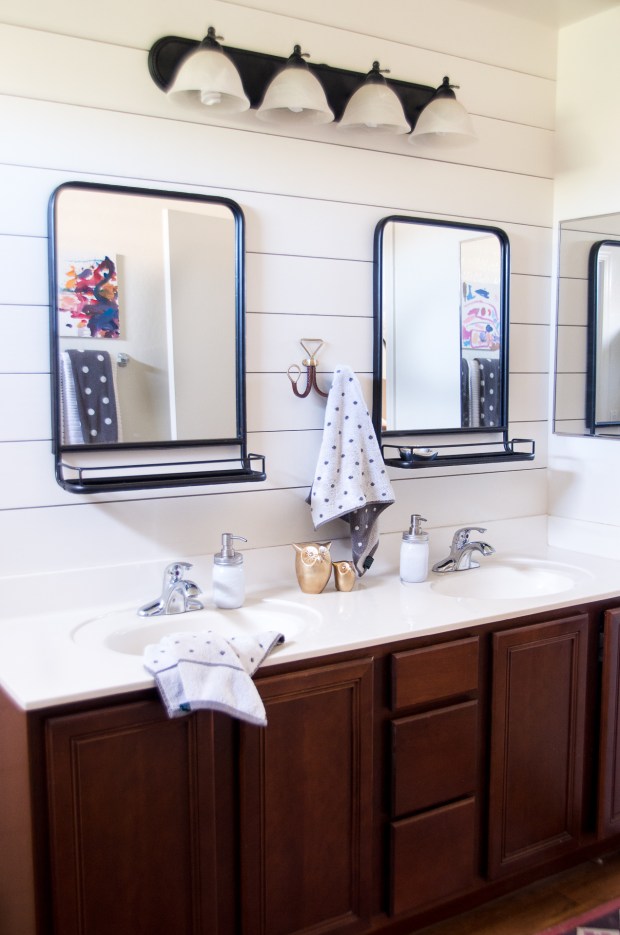
About 6 months ago, I was browsing online and ran across the most perfect mirrors. The mirrors I had been picturing in my master bathroom whenever we decided to replace the builder grade large mirror. We had no intention of redoing the bathroom in the near future but I went ahead and bought them anyway. Good call too, because they sold out! For that six months that sat in our closet waiting. Until about 3 weeks ago the hubby just popped the old mirror off the wall and said, let’s do this! 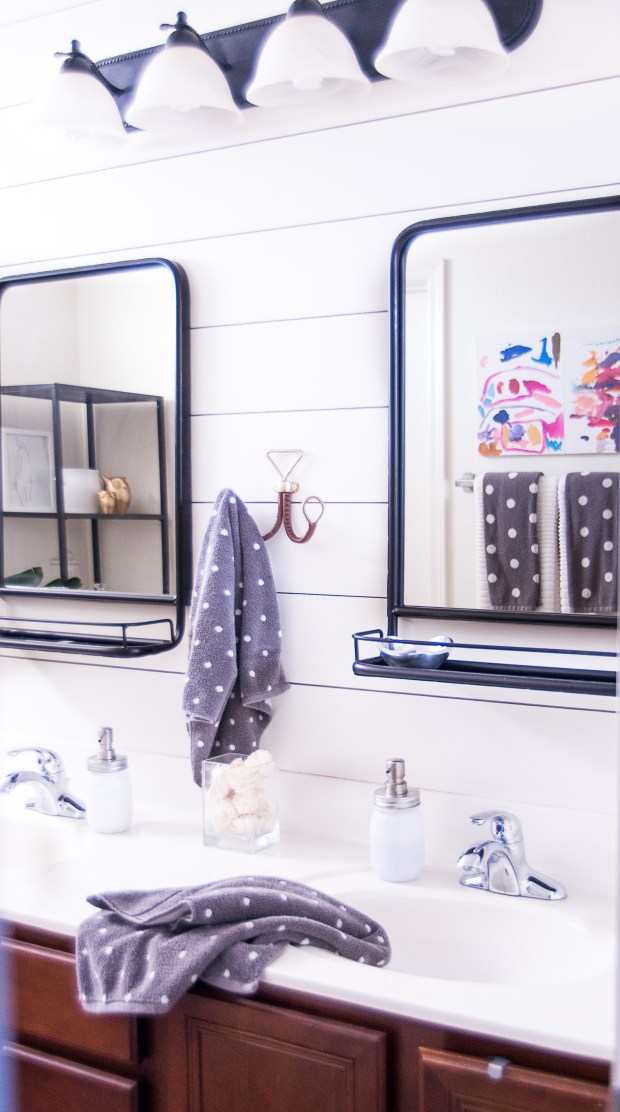
Since these two mirrors were replacing a very large mirror and a huge area, I knew that I needed something on the wall behind them to create some interest. I have to admit a shiplap wall was not my first choice. This decor trend is everywhere right now, and I do have a fear that it will become dated. However, adding tile to the wall was not in the budget right now. I looked into wallpaper, but was not ready to commit to anything. I also thought about creating a pattern with sharpie, but our walls are heavily textured, and I was afraid that wouldn’t look clean. So after some soul searching I decided the shiplap was the best choice, and I love the result!
Let’s see some before pictures:
We lack storage in this bathroom and this sad shelving unit had overstayed it’s welcome. I always intended on replacing it, but here it stood 5 years after we moved in.
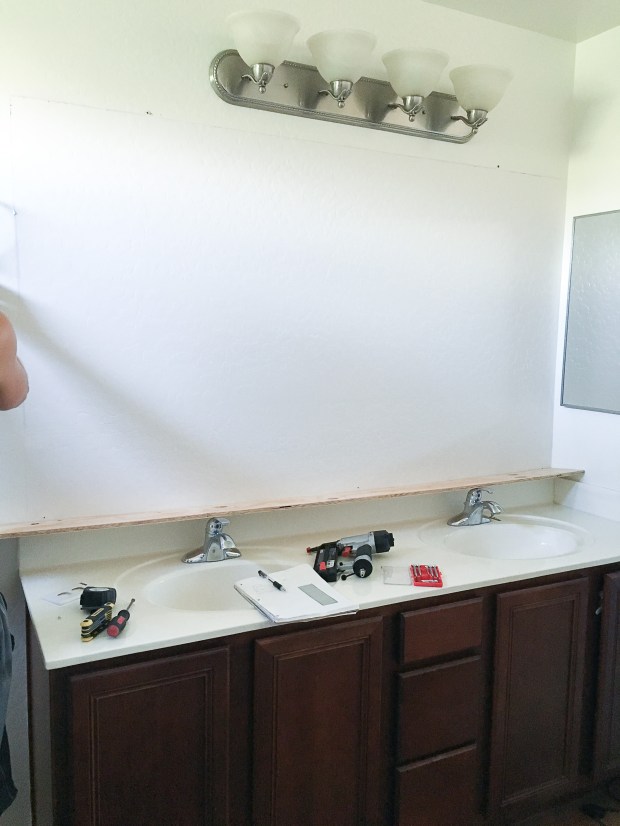
The day we started my handyman had the mirror off so fast I couldn’t get a picture! First step was removing the giant rectangle mirror. It was a lot easier than we atiipated because it was barely attached to the wall.


Unlike the shiplap in our kitchen penisula we used 6 inch planks cut from plywood. Then spaced them using nickles placed between while nailing them into the wall with a nail gun. We had the wood cut into strips at home depot. They are 8ft long, then my husband did the custom cuts at home. While he was cutting and applying these, I worked on the light fixture.


The chrome finish didn’t mesh with the farmhouse vibe, so I spray painted them light fixture to match the mirrors.


Next we patched holes and lines, and sanded. I wanted the shiplap to just be clean long horizontal lines. A little more modern than traditional. Then we primed, and made some shadow puppets.


We painted the wall the same white as the rest of the bathroom and turned the light fixture “upside-down”. While replacing the fixture we also noticed it wasn’t centered over the vanity. So, we also fixed that. And hung the mirrors. 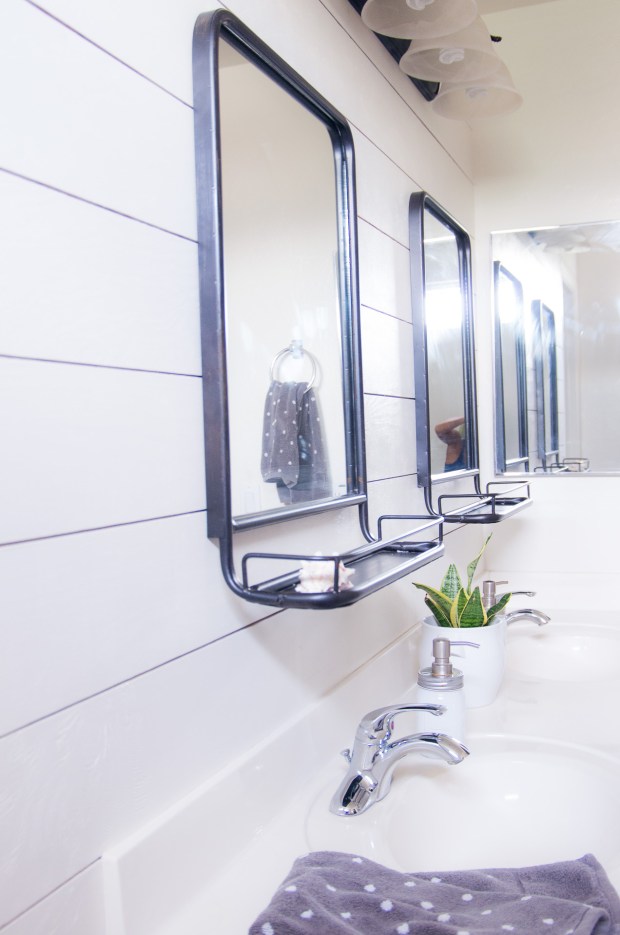
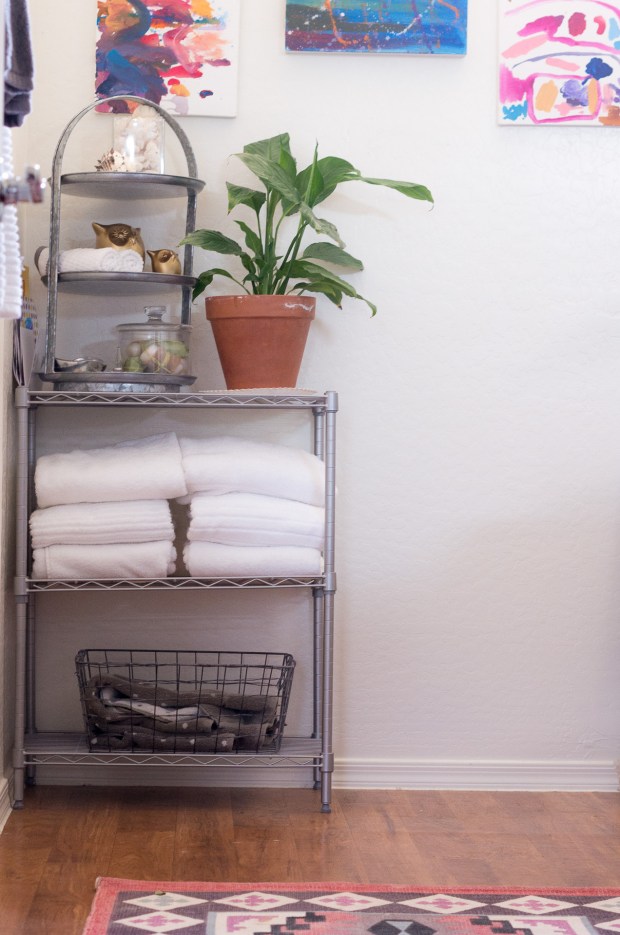
Also decided that old shelf was ready to go and replaced it with a unit that it much more eye pleasing. These glass and metal shelves are from IKEA and perfect for the bathroom to style. While I was there this white bird of paradise told me she needed a home, so Jasmine (I name all my plants) came home with me too. 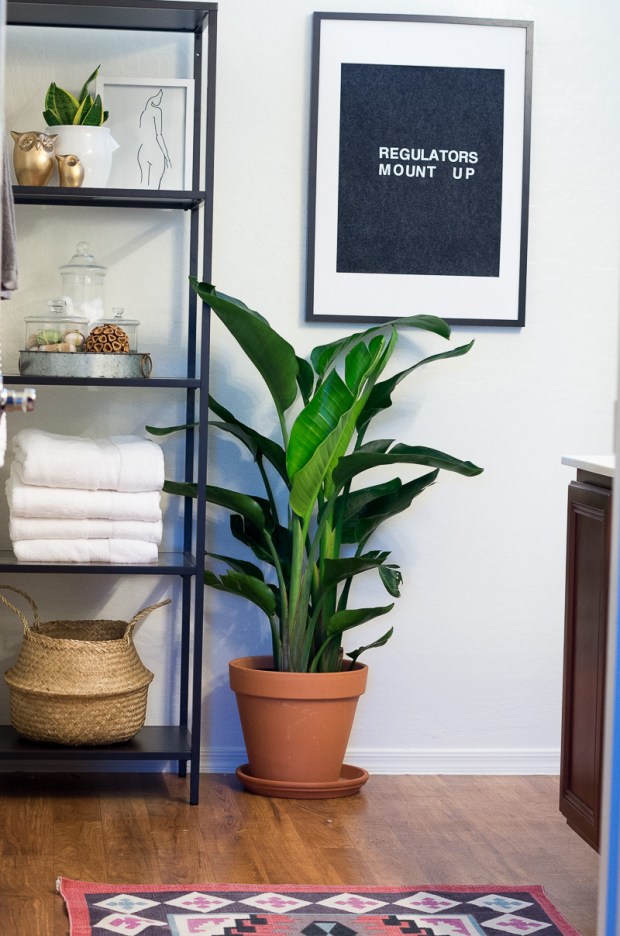
The large felt letter board art was a DIY. The full tutorial is at Life Storage, you can find it here. The nude line art is also a DIY. 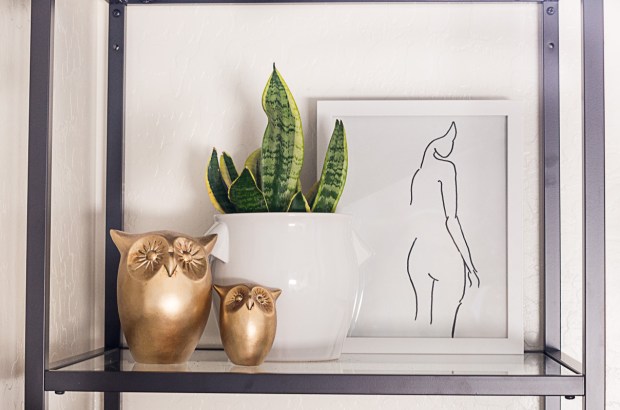
I absolutely love the bathroom makeover and I am so happy with the shiplap choice. It’s a pleasure brushing my teeth in my beautiful mirrors.
Sources:
Mirrors: Target online
Equestrian Double Towel Hook: Anthropologie
Towels: Home Goods
Shelf Unit: IKEA
Frames: IKEA
Basket: IKEA
Rug: Urban Outfitters
