
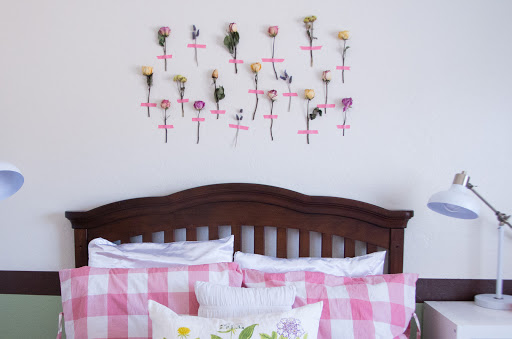
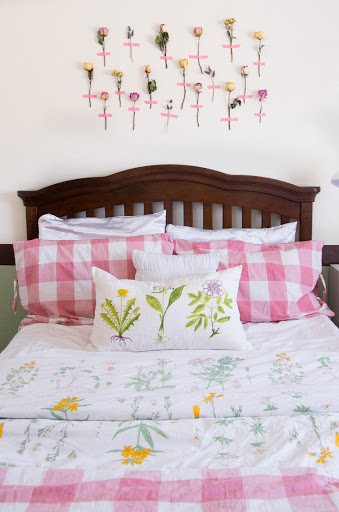
Recently changed my oldest daughters room, since she now has her big girl bed. I revealed the changes a couple weeks ago: here. Then, the other day I decided I wanted something a little different over her bed for art work. So, I added this dried floral art over her bed and here is a little info on how I did that.
Over a couple months I have been drying all the roses I have bought for the house. I have gathered a lot and wanted to create something different in my little lady’s room. I had seen something similar on Pinterest and decided to give it a try anyway.
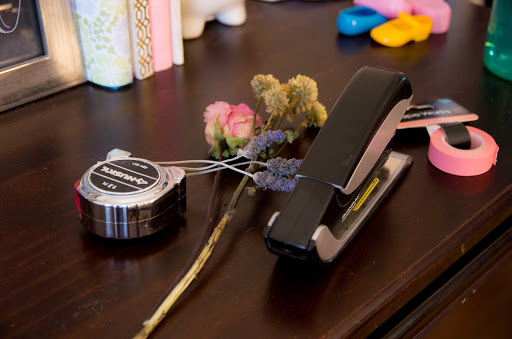
Gathered some materials:
Dried or faux floral stems
Tape Measure
Heavy Duty stapler, I also thought about using hot glue
Washi Tape
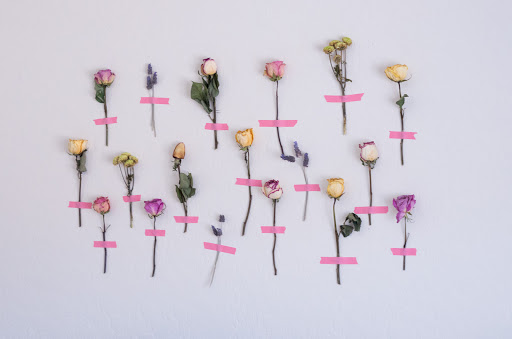
First, I measured the amount of space I wanted the art to fill. I taped that off on the floor and I started creating a pattern in the tape. Then I measured the space between each flower. Mine ended up being about 6 inches.
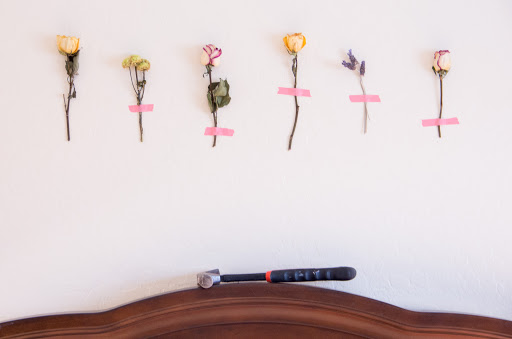
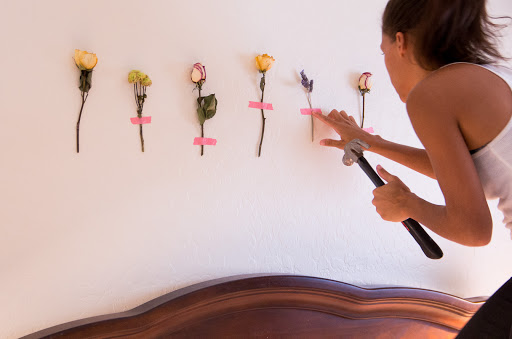
I found the center of the area on the wall, and made marks every 6 inches in both directions with pencil. Then I placed the first row according to those marks. To attach the stems I used a heavy duty stapler. Then hammered the staple pretty flat. If you’re using dried flowers, careful that you don’t totally destroy the flower…good idea to have extra, because it will probably happen.
After I arranged the first row, I just sort of filled in the other two. I didn’t want mine completely symmetrical but I have seen them arranged that was as well and it’s also very pretty.
Some Inspiration Photos:
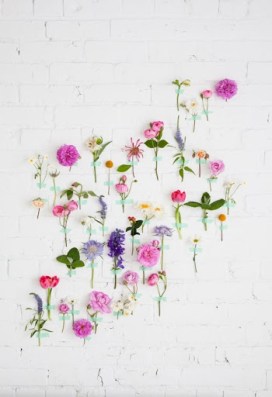 |
| Click Photo for Source |
 |
| I don’t like to source Pinterst, but I am not sure the original source. |
I hope you enjoyed! Let me know if you are inspired to try it yourself.
