The first week of January I was itching to try some new stuff, once Christmas was all packed up and gone. Some of these mini projects turned out great and some were a fail! But lessons learned and I may try the failures again some time now that I know a little more.
Let’s start with the FAIL and end on a high note, shall we?
So on trend right now is Shibori and mud cloth patterns. I was wanting some more throw pillows for my bedroom so I thought I would give this trend a whirl with some DIY magic…because the cost of the actual look is well….out of my price range 🙂
Here are some of the beauties I was hoping to recreate:
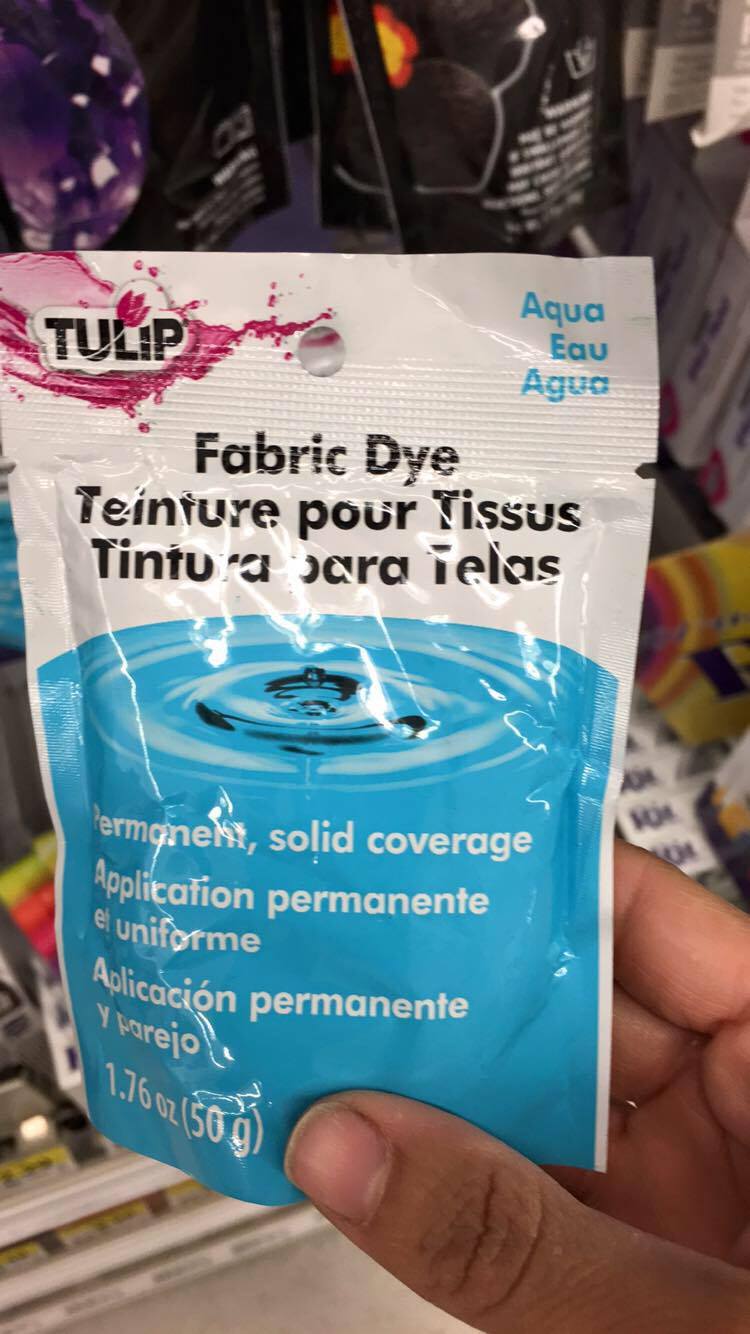
I gathered my supplies, Tulip and Rit fabric dye from Joann’s. And I used white 20 x 20 pillow covers from Ikea.
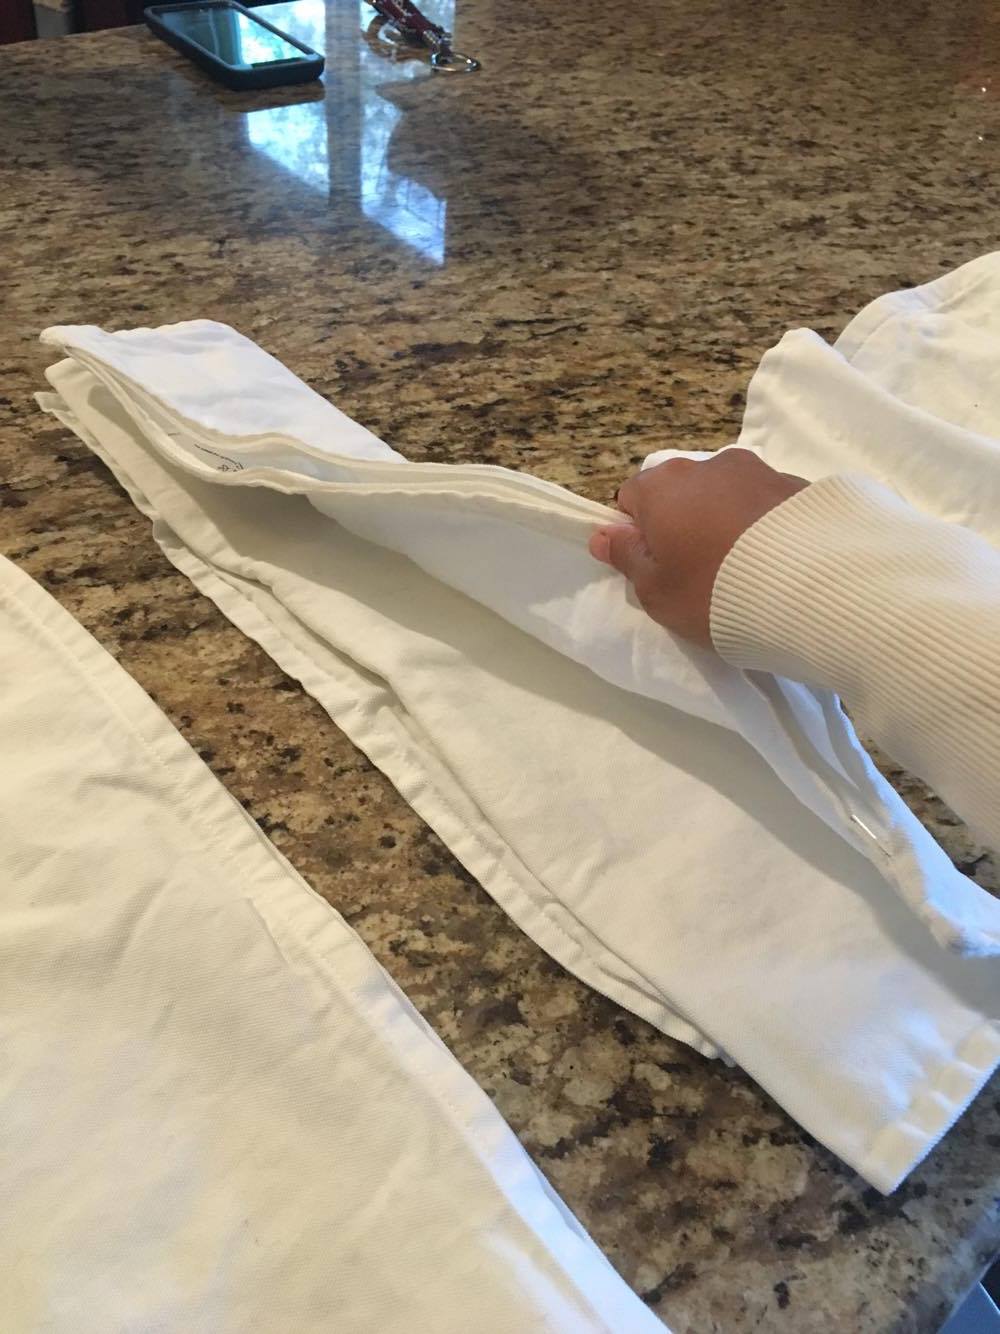
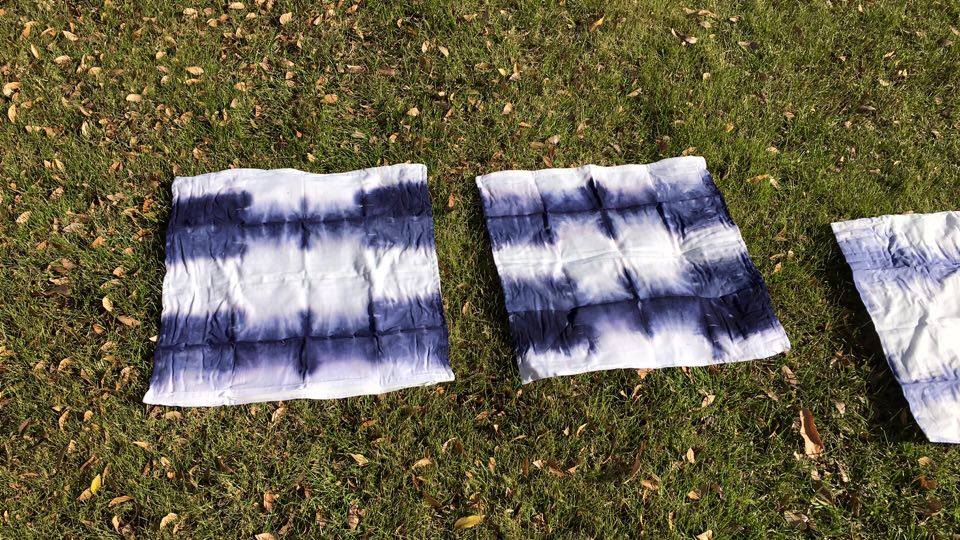
First I researched some folding techniques, gathered some materials (rubber bands, a large bucket, Popsicle sticks and some cardboard cut into squares). And then I started folding.
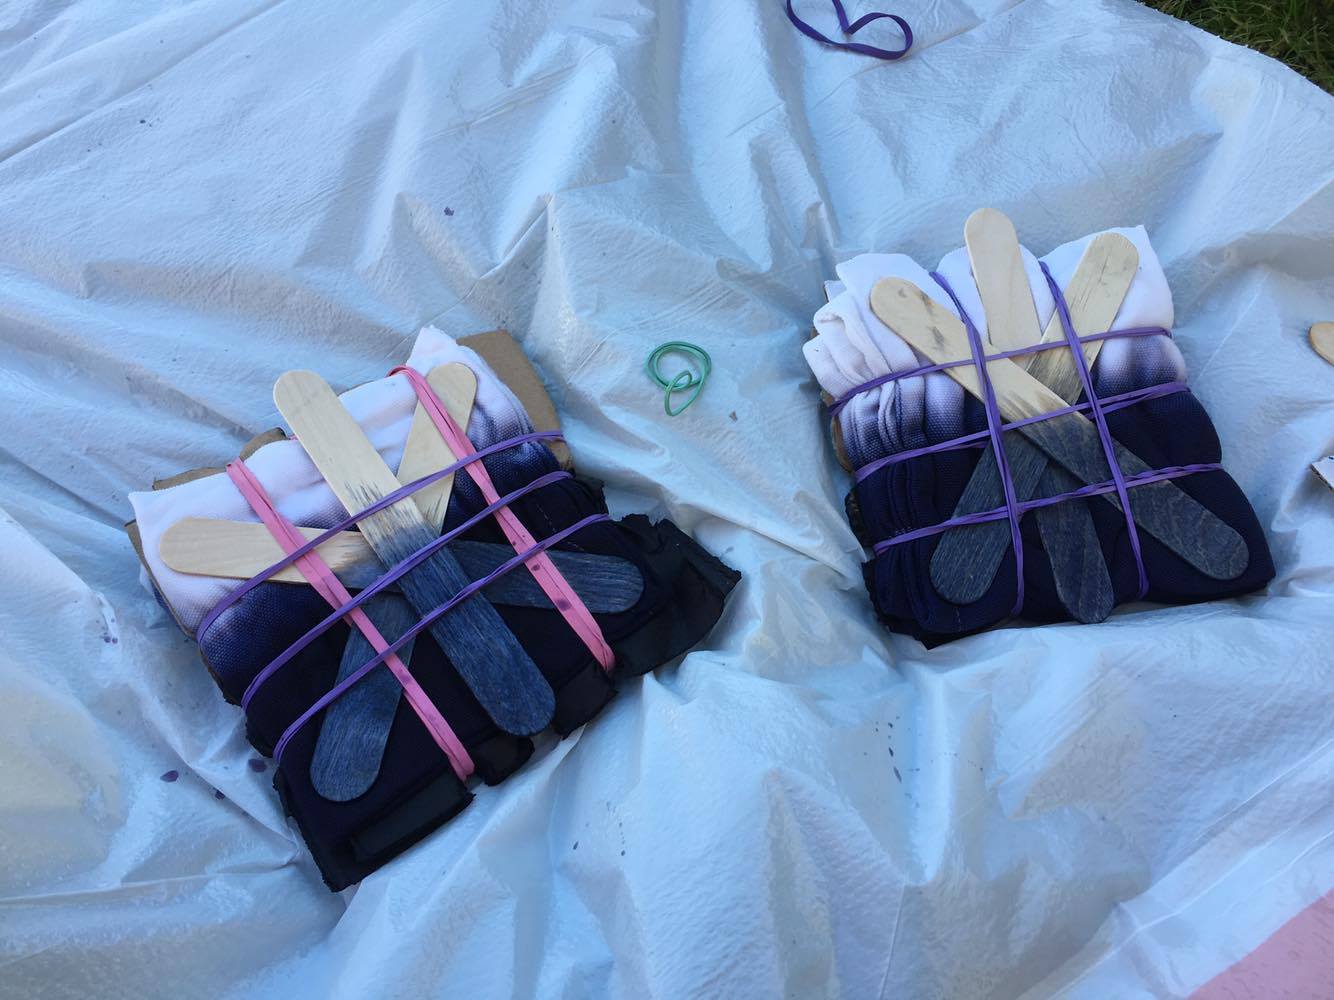
I folded 2 accordion style horizontally and vertically, one I rubber banded the corners and then the middle.
This one was just scrunched rolled and banded.
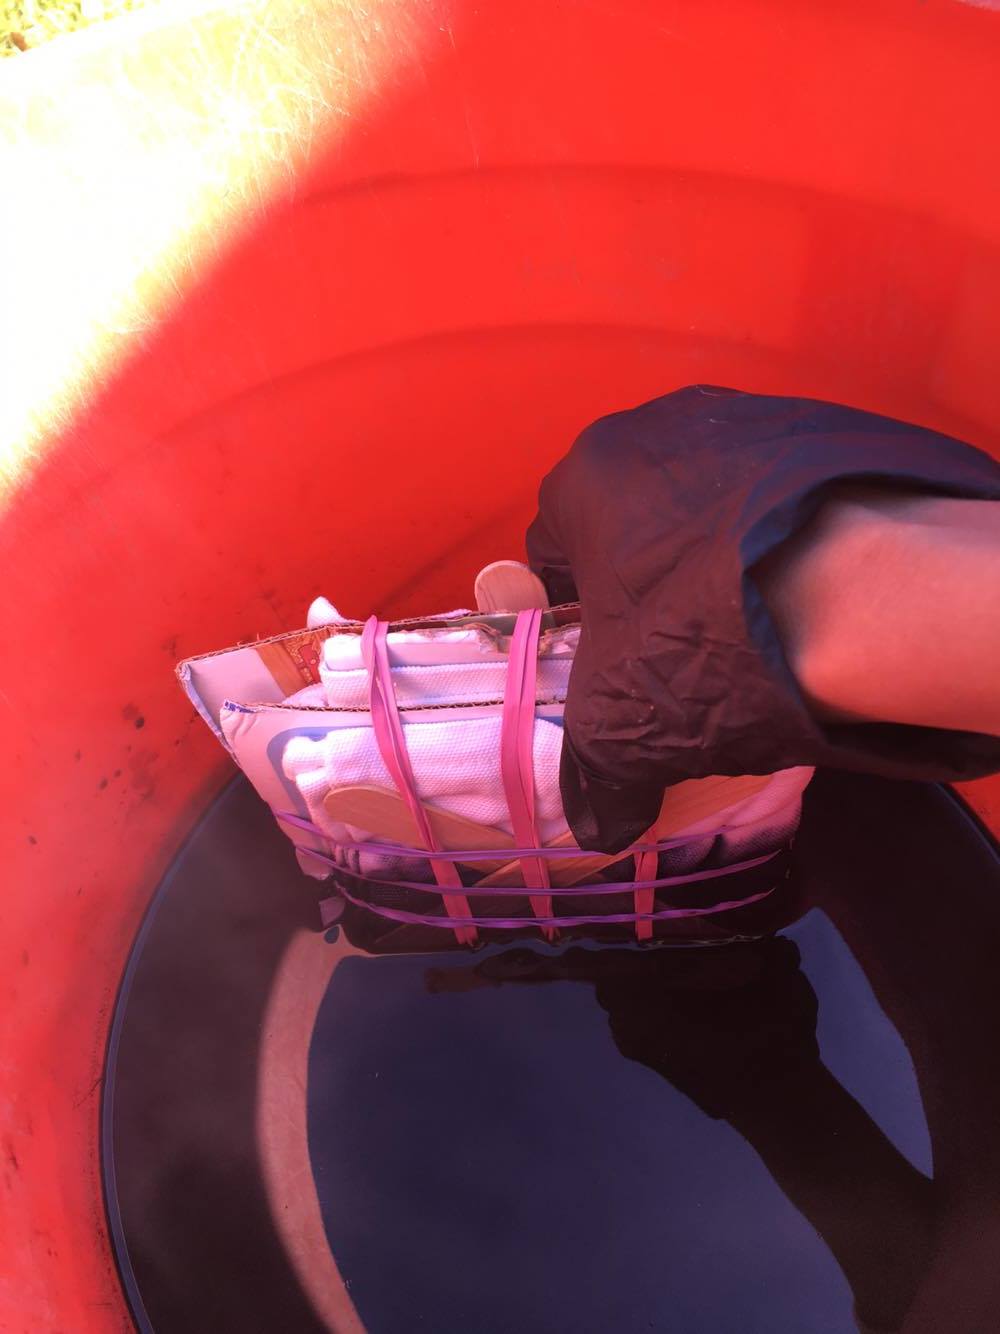
In the square ones I stuck cardboard between the folded added some sticks to make it tight and then rubber banded. My folding was not the fail…you think that would have been! It was in the dyeing process. I mixed the dye according to the directions and even did a test. I was ready for the real deal! Except with the test, I remembered to wet the fabric before dyeing…with the real deal I forgot. I also did not rinse the test after…with the real deal I did. I am not sure which of these led to the demise of my pillows…and I will try to figure that out, next time!
I only soaked the square half way. Then I rinsed them. My mistake is that I also probably should have left them in the dye longer. I guess I probably also should have let them dry as much as possible in the bands…and then let them dry totally flat. The directions said to rinse until you see the water run clear. As I kept rinsing, they colors started bleeding…
I went from this! (I was pretty excited at this point)
To this…the blue is starting to bleed into the white.
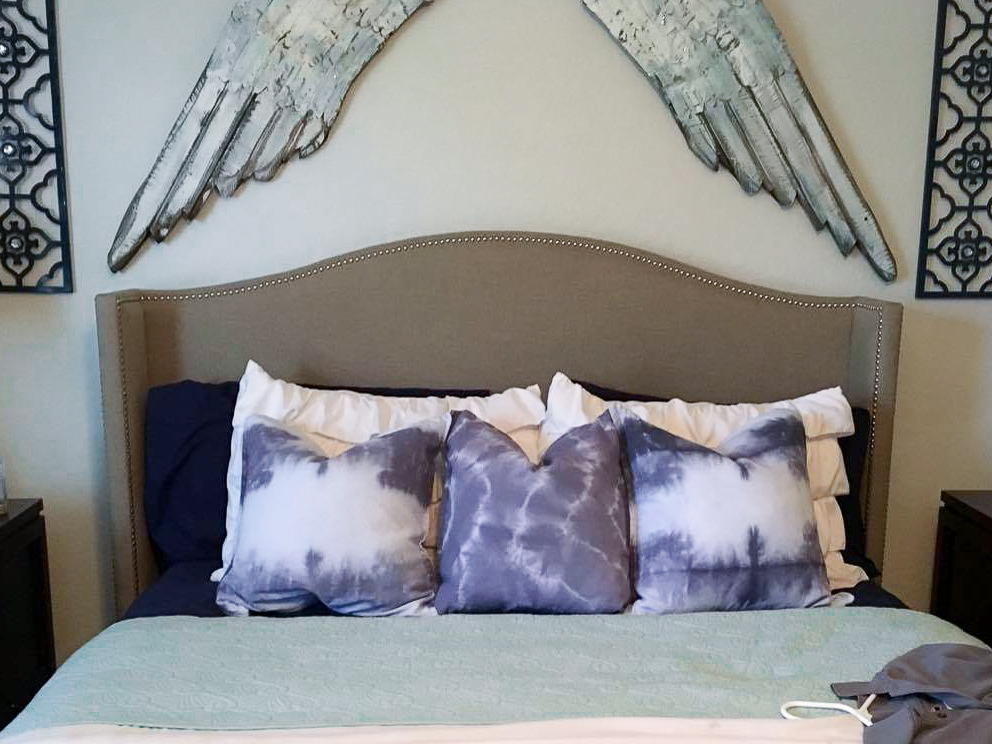
And here was the end result…not dark enough and too much blue bleeding. I LOVE the patterns, but the color is just not right.
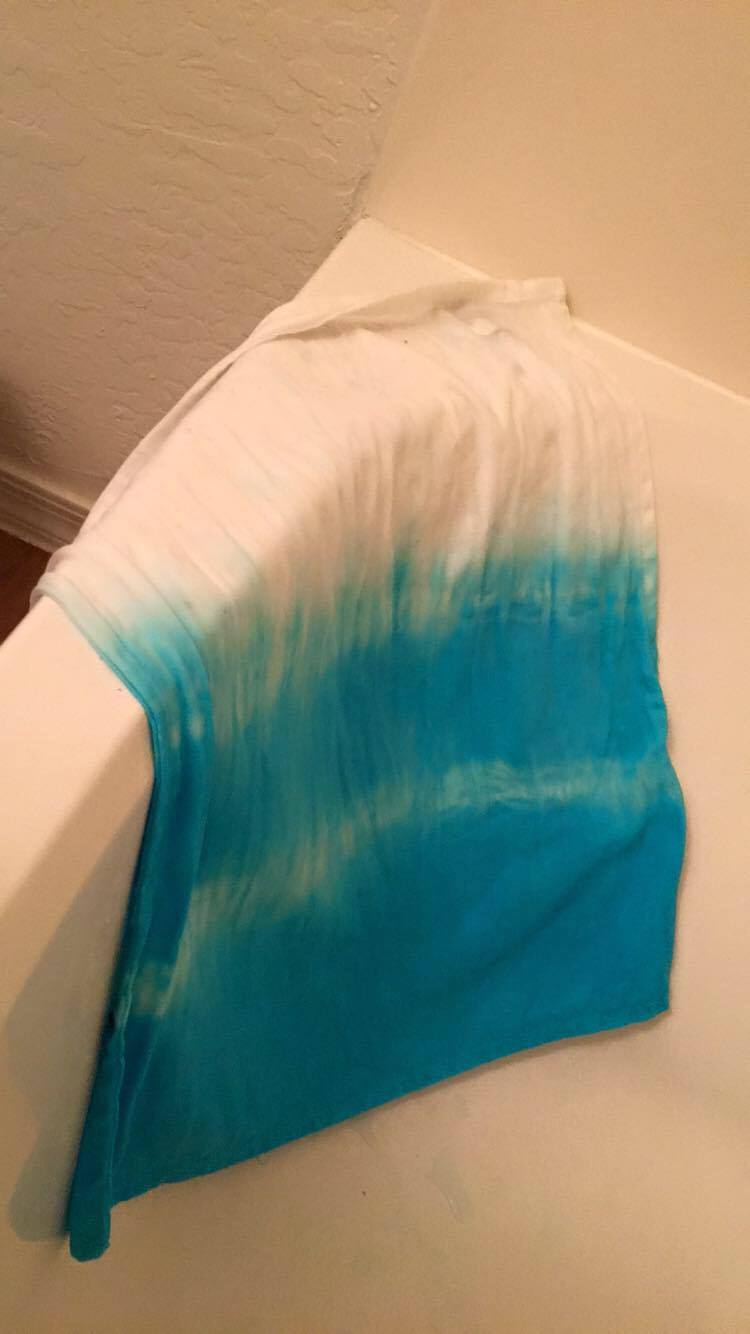
The aqua color came out perfect…for someone who wanted BRIGHT aqua…which is not what I wanted, for my room. I needed more of a muted tone.
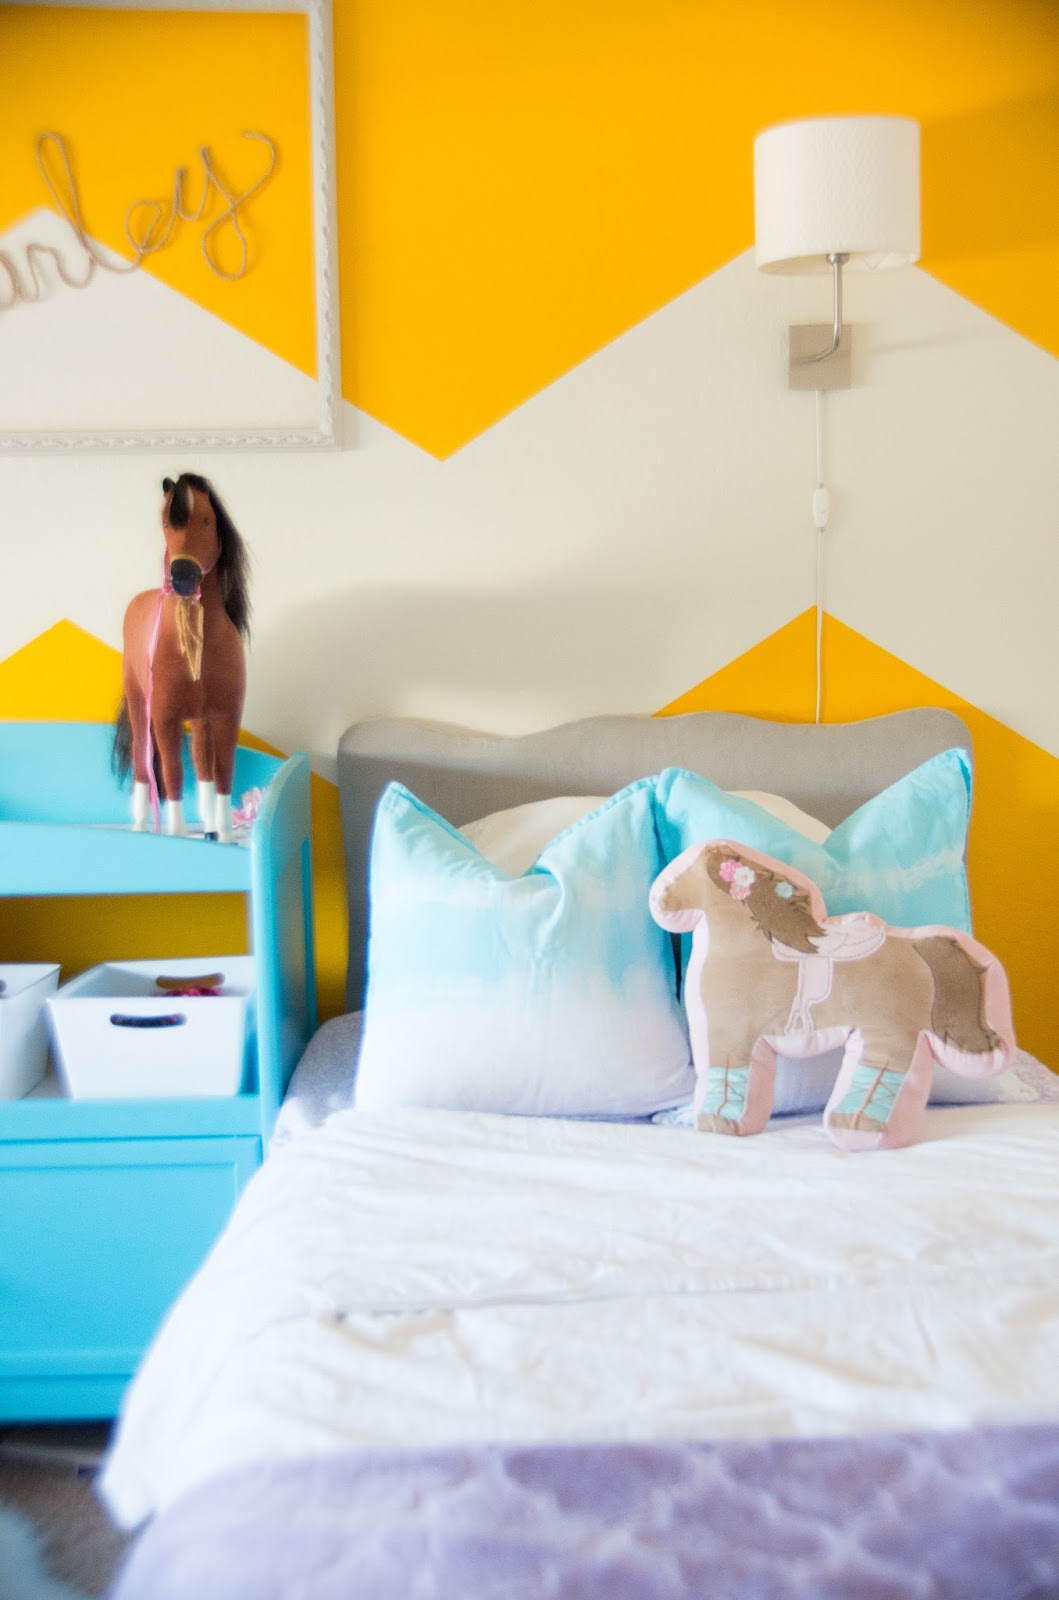
But, they look pretty cute in my daughters room! Fail into success!!
Here are the other projects I worked on this past week. One I have already blogged about
here.
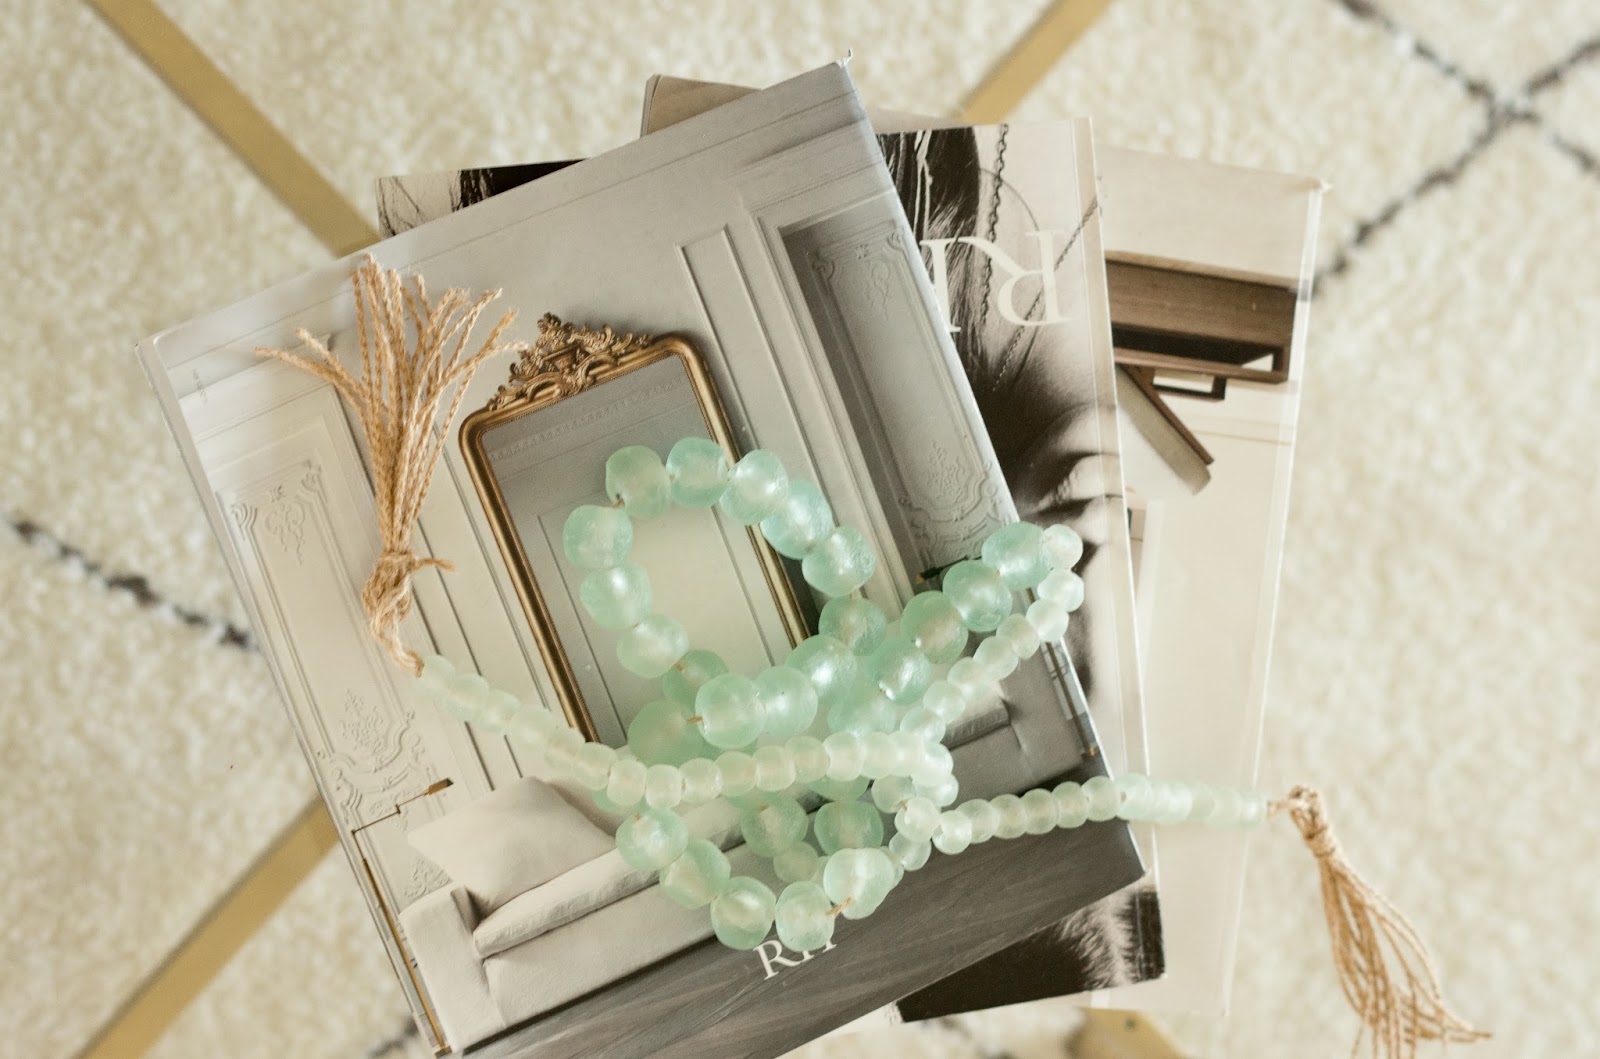
Pottery Barn Inspired Beads Take Two!
I used recycled glass beads (found them here) this time and burlap twine for the string and tassels. LOVE THEM!!
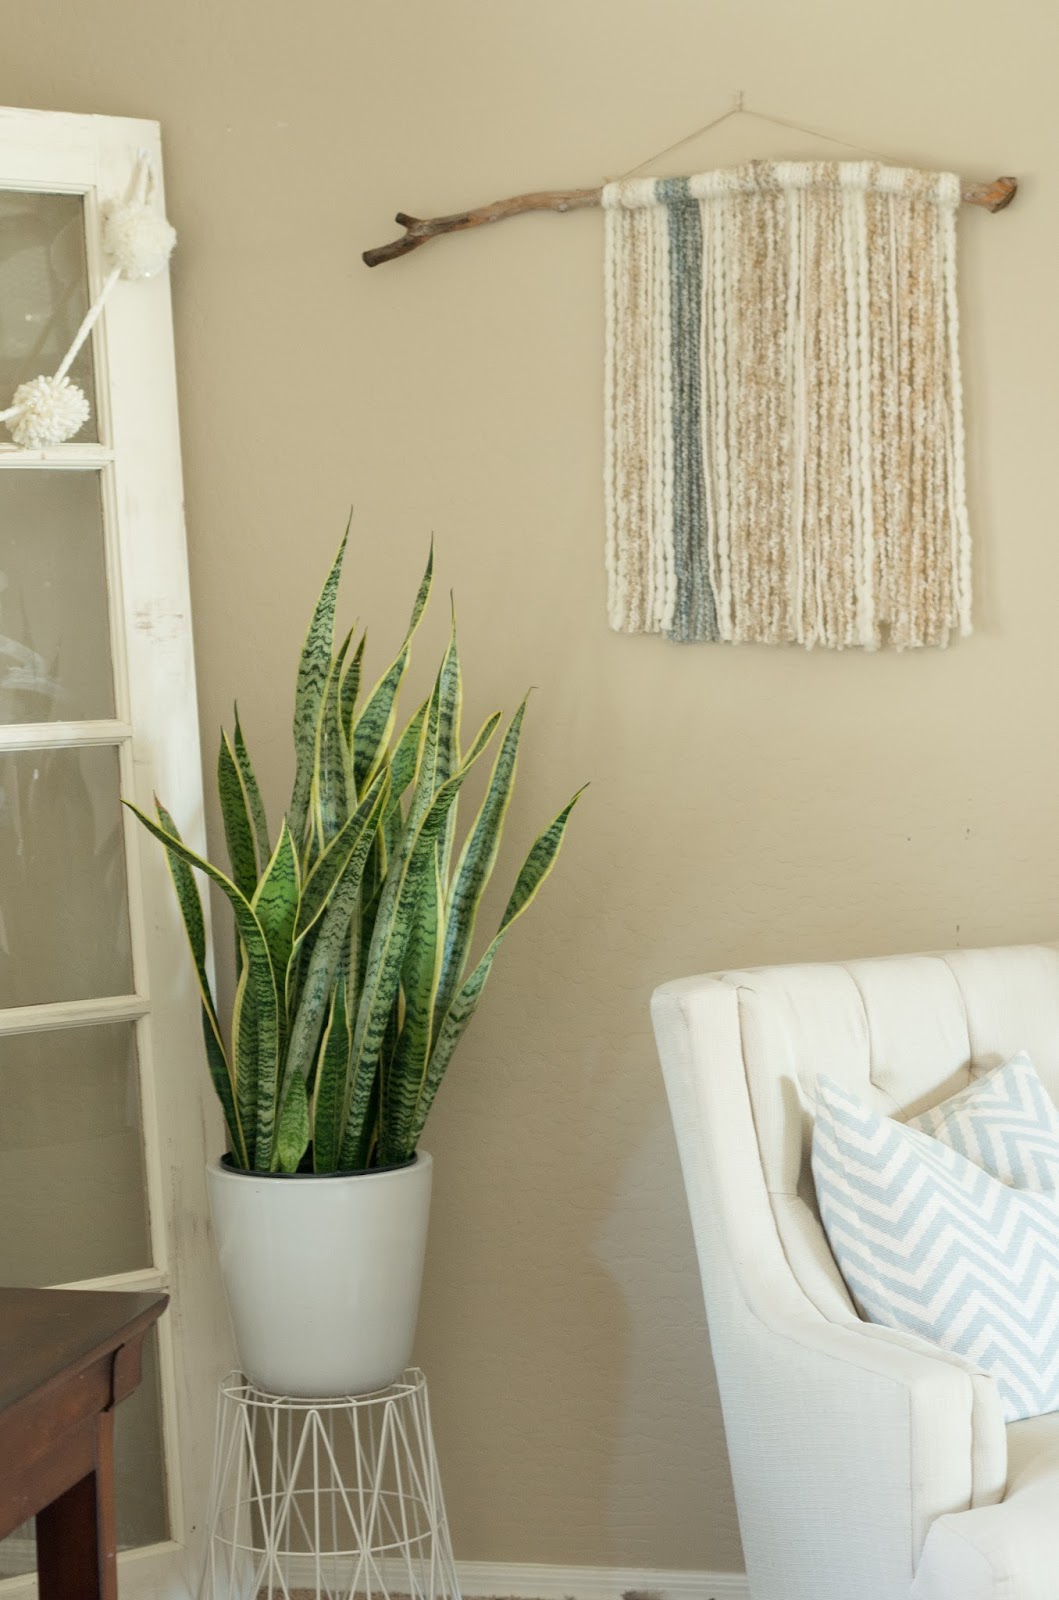
Yarn Wall Hanging
And I also did this yarn wall hanging. I used a stick from the back yard, and 4 different types of yarn, on sale from Joann’s to create a unique wall art for under $20. Plus I have A TON of yarn left over. (I may try a Juju hat knock off…but I digress)
Here is the tutorial to make your own. It’s just knots, super easy.
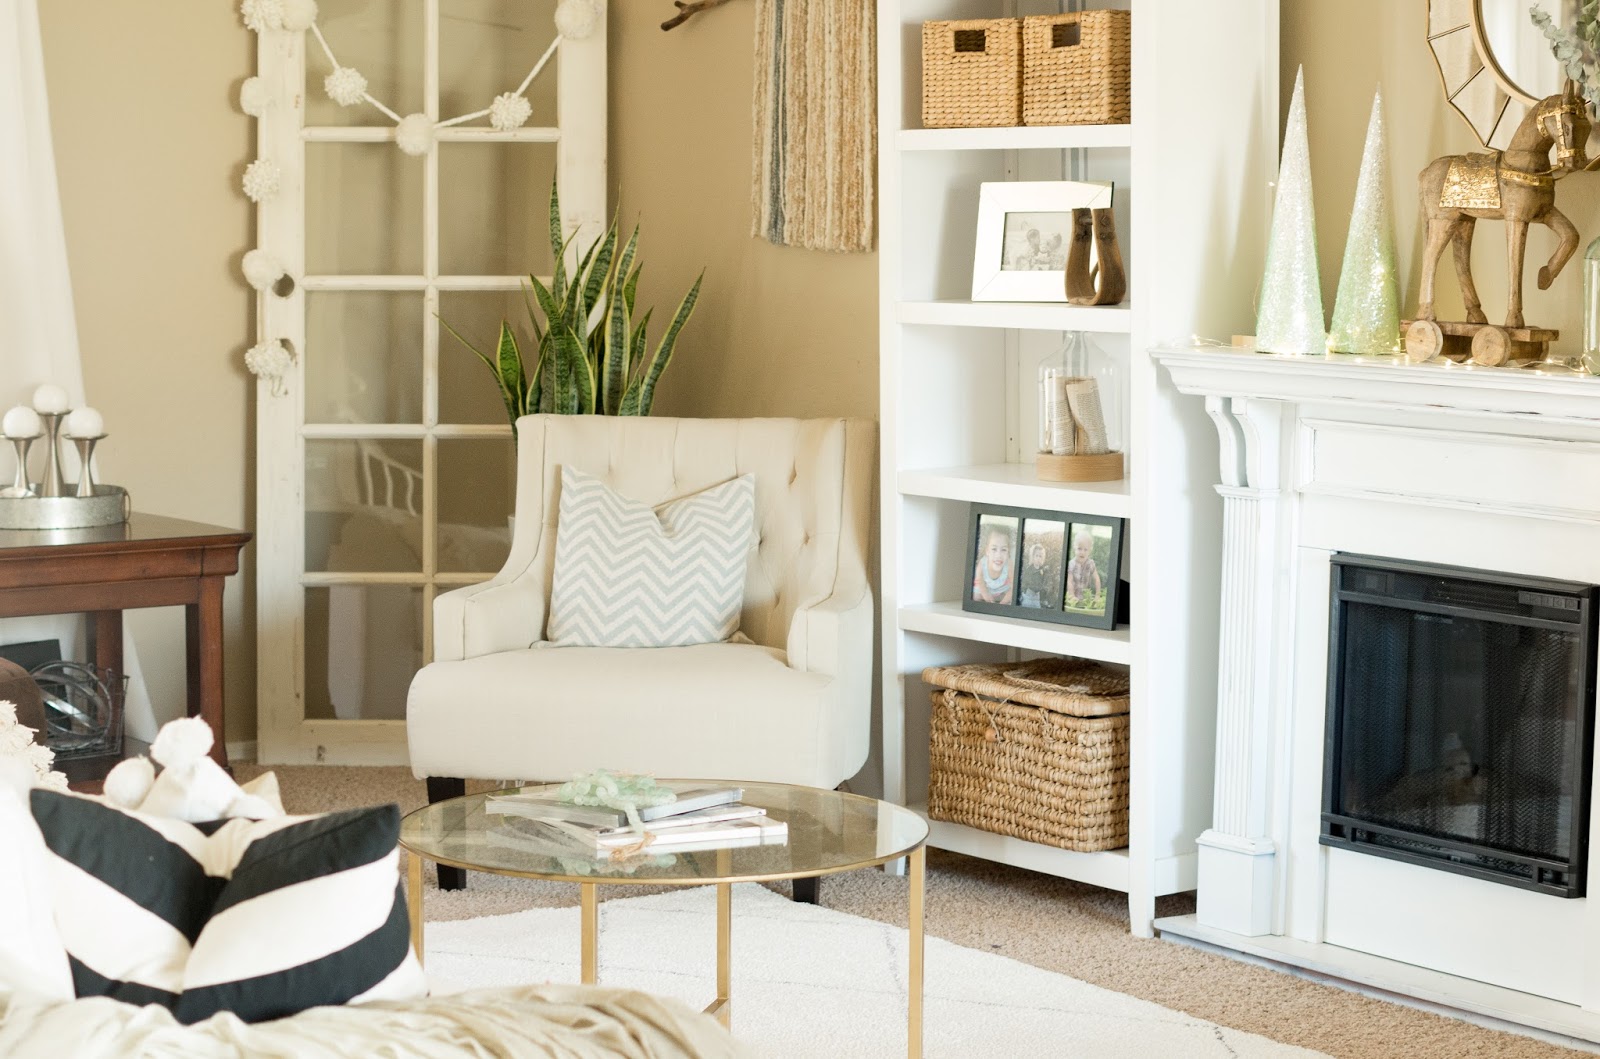
I am enjoying how it brings a but of texture to the other side of the fireplace and finishes off the even more updates living room. More details about that soon!
I hope you were inspired!