Ok, so about a month ago I practiced the cerused oak technique on my open shelves, here is a little review of how that went: Open shelves post. And now, it was time to apply that little gem to my table. I wanted this to finally be finished by this Thanksgiving and I am sooooo happy with the result!
A little look back at the before:
(I was trying out the idea of different head chairs, that did not work out. Instead, we went with 4 of the same white chairs, more on those later and a bench)
In order to re-stain the top we had to strip and sand all the old orange off. We used a paint/stain remover from Home Depot that they said was the strongest they had (I forgot to snag a pic of it) but i have a friend who said this one is really good
Dads Easy Paint, Stain and Varnish Remover. The brand we used took a couple coats and some elbow grease but it got the job done.
Removed, we only took off the varnish on the top. I knew I would be painting the bottom with milk paint and knew I could just paint right over what was already there. If you wanted to re-stain the entire table, you’d have to get in all the nooks and crannys.
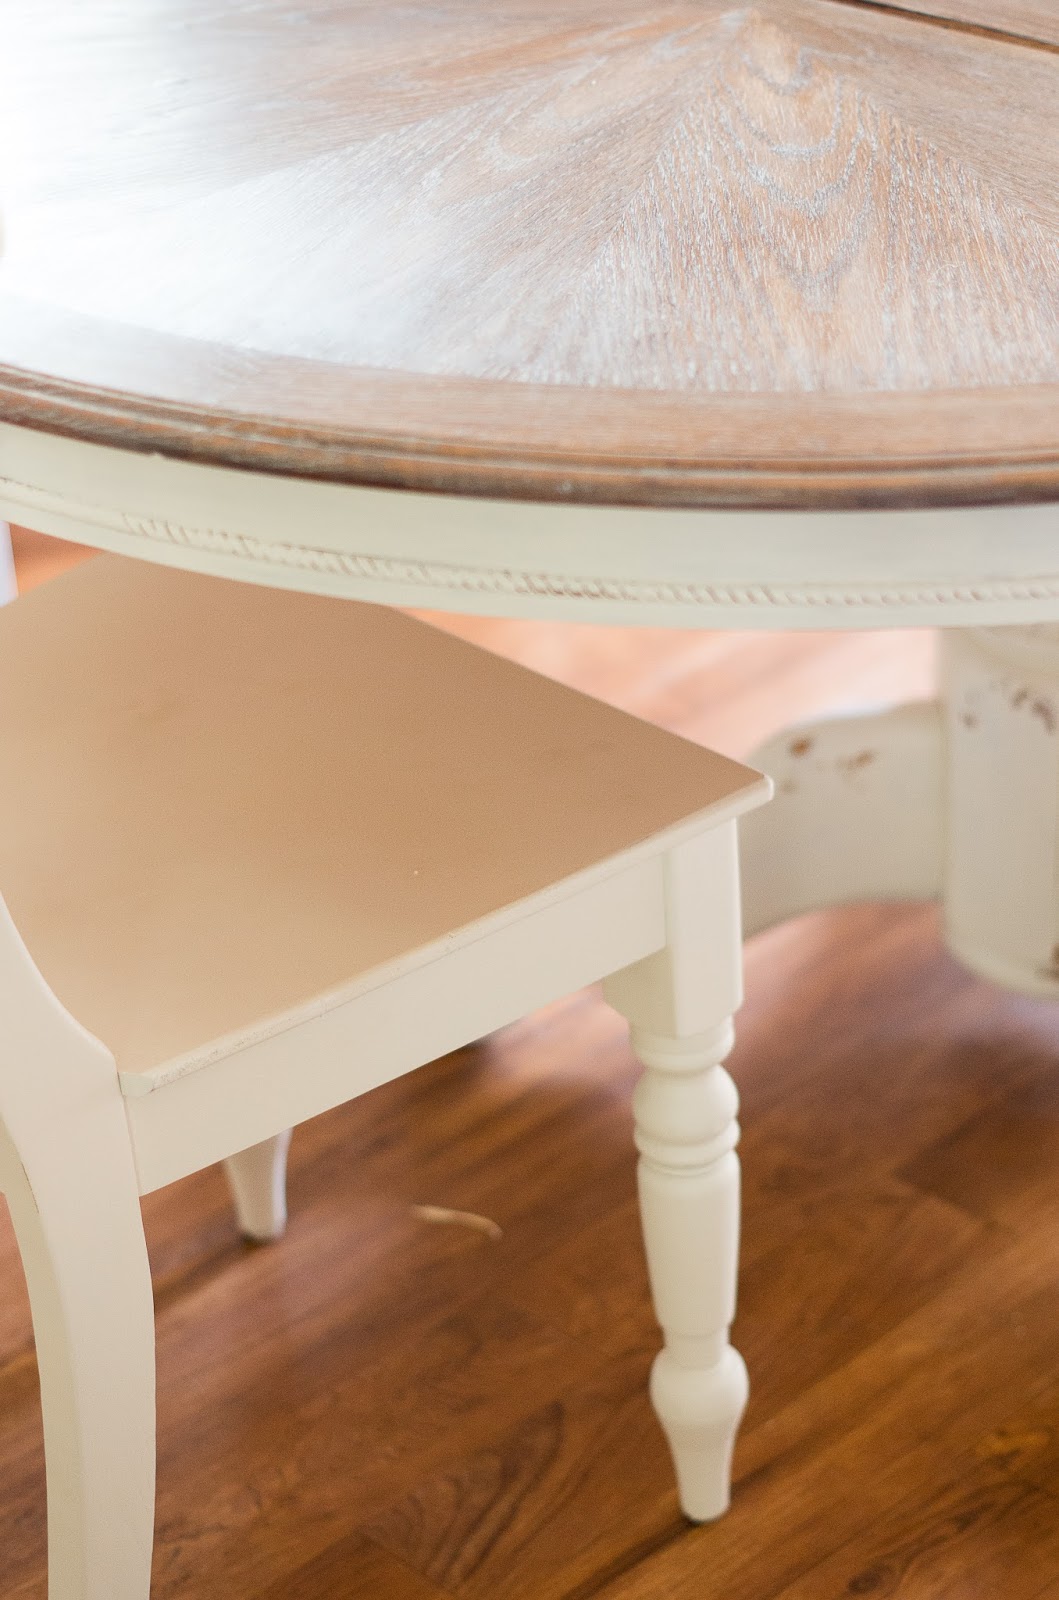
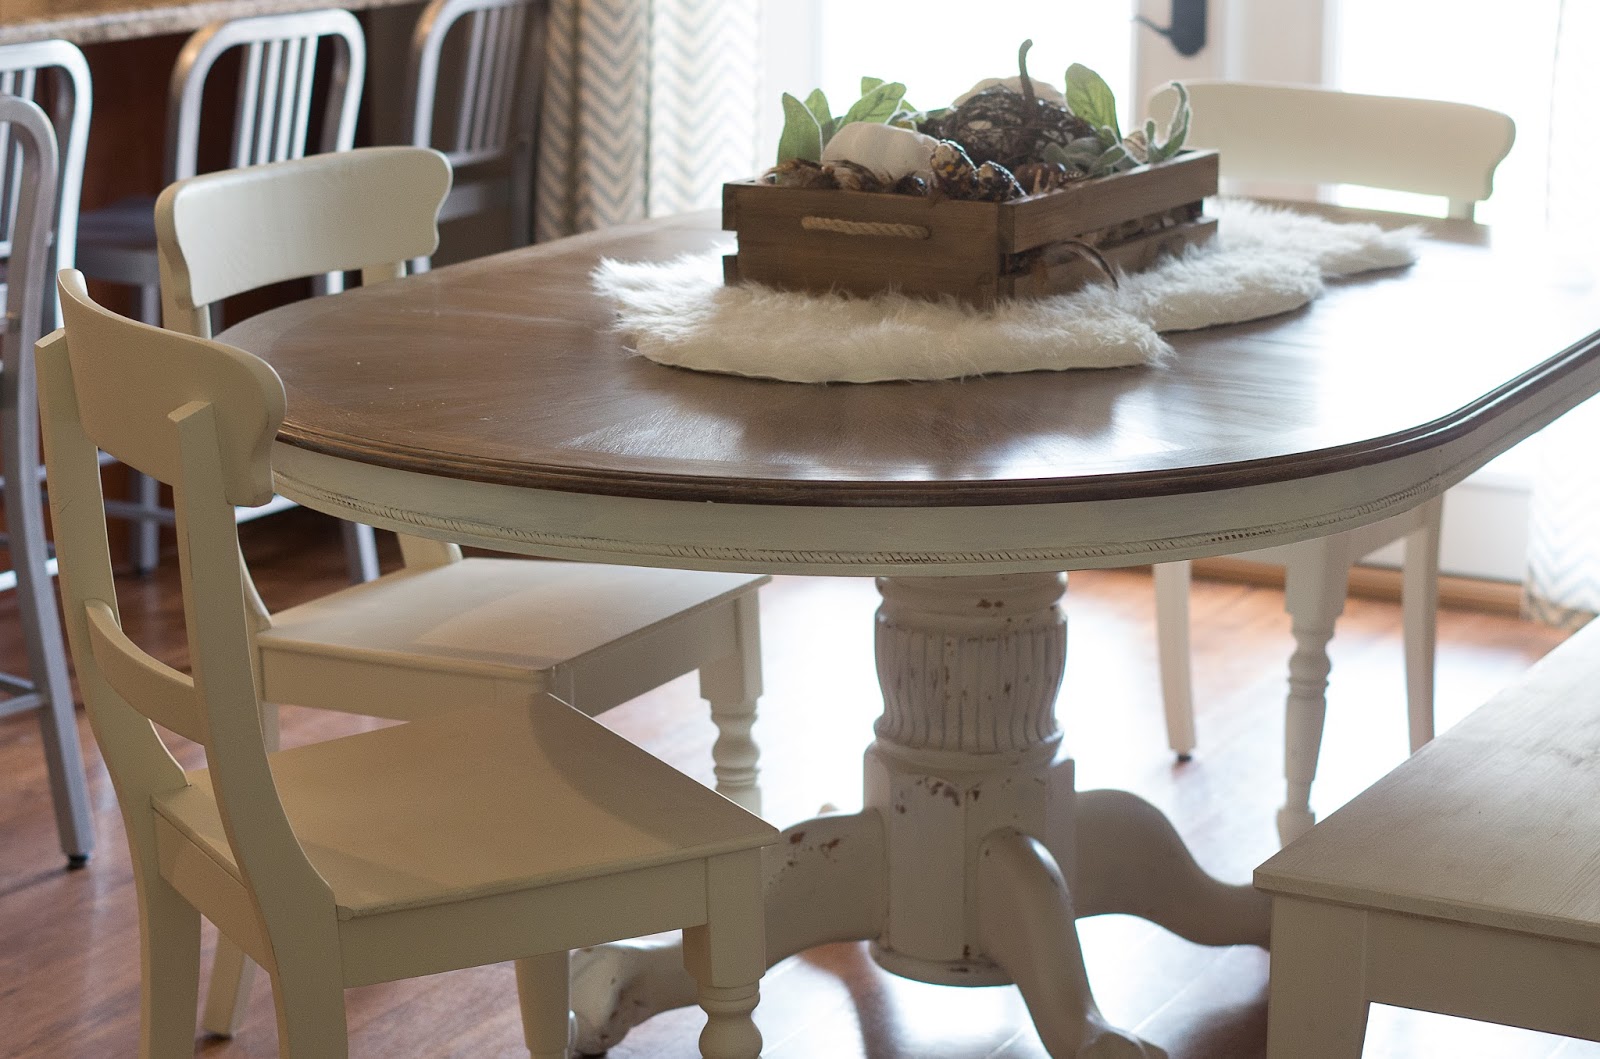
After this step, we sanded, and stained with Minwax Dark Walnut. I didn’t want it too dark so I only used one coat. Then I did all the steps for cerusing the top (which again is
here)
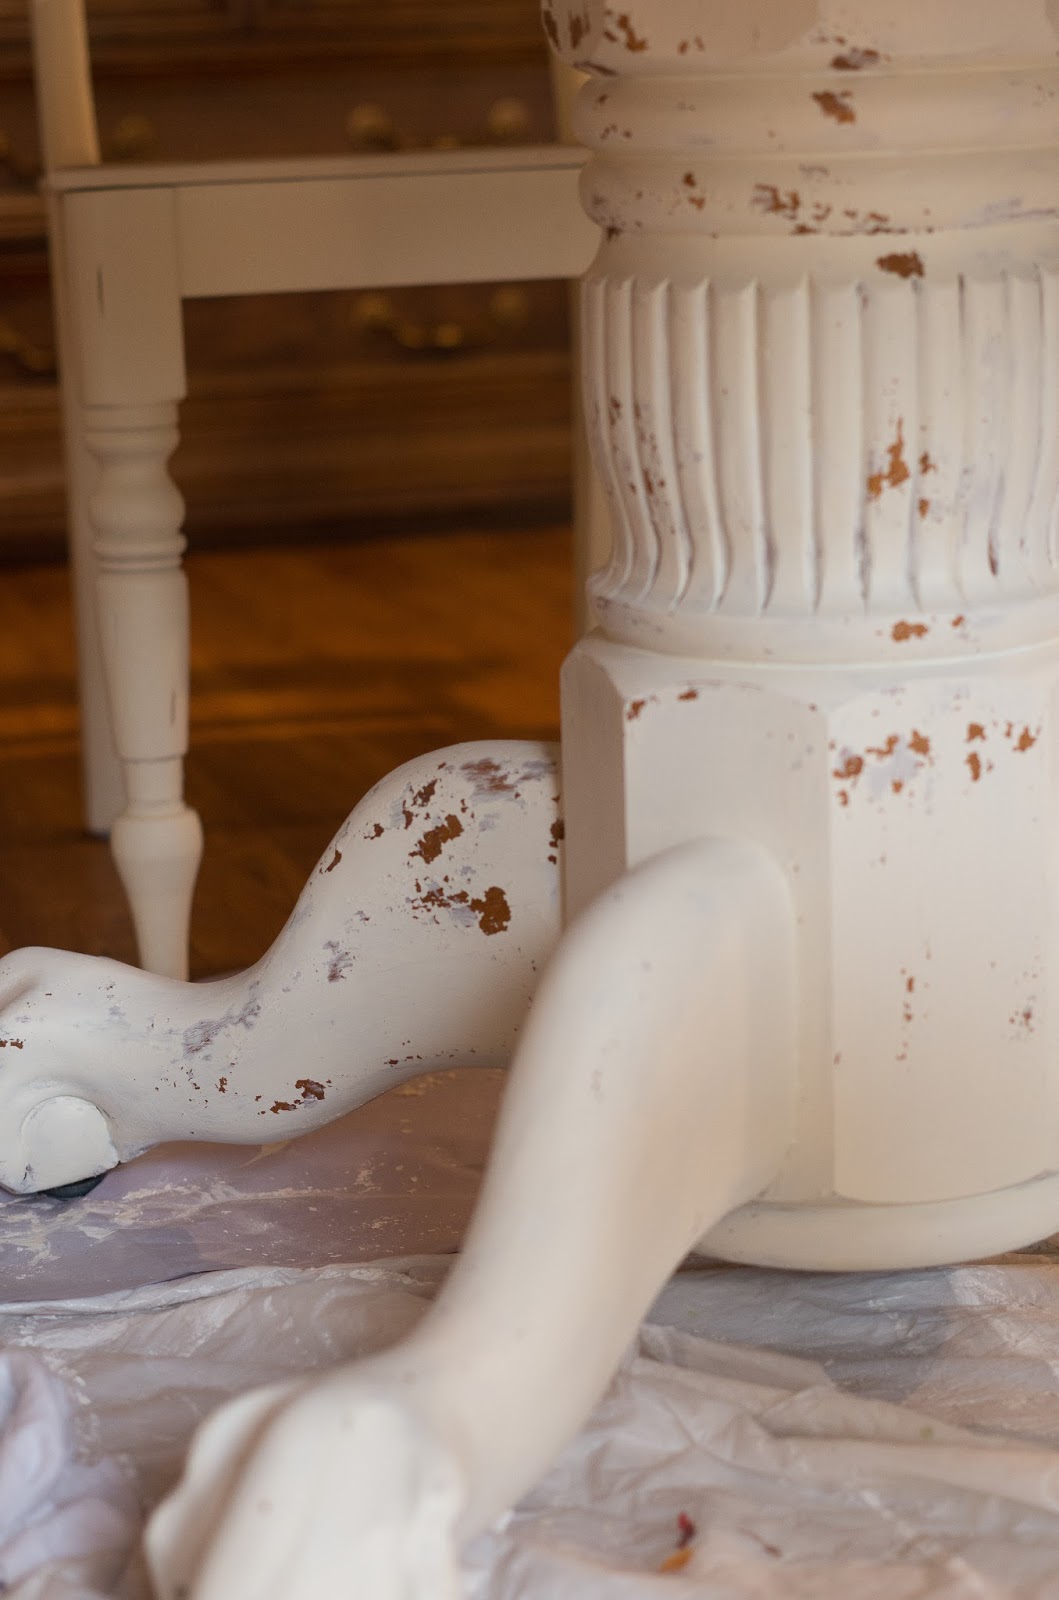
For the bottom I wanted a farmhouse, chippy finish. The first 2 coats I used Old Fashioned Milk Paint in Snow White. I did no prep for the wood, besides wiping it down because I wanted a nice distressed finish. For more on my Milk Paint experience check out this
post However, the Snow White color was TOO white. Chipped BEAUTIFULLY, but just stark white in comparison to my chairs. So I ended up finishing the job with General Finish Milk Paint in Antique White (because the Old Fashioned Oyster White and Light Cream were not going to cut it either).

The General Finish paint, is almost an exact match to the chairs, but it has a bonding agent already mixed into the paint so it needs a little help with sanding to get that distressed look. I still really like it, but it is less pulled out of an old barn looking 🙂

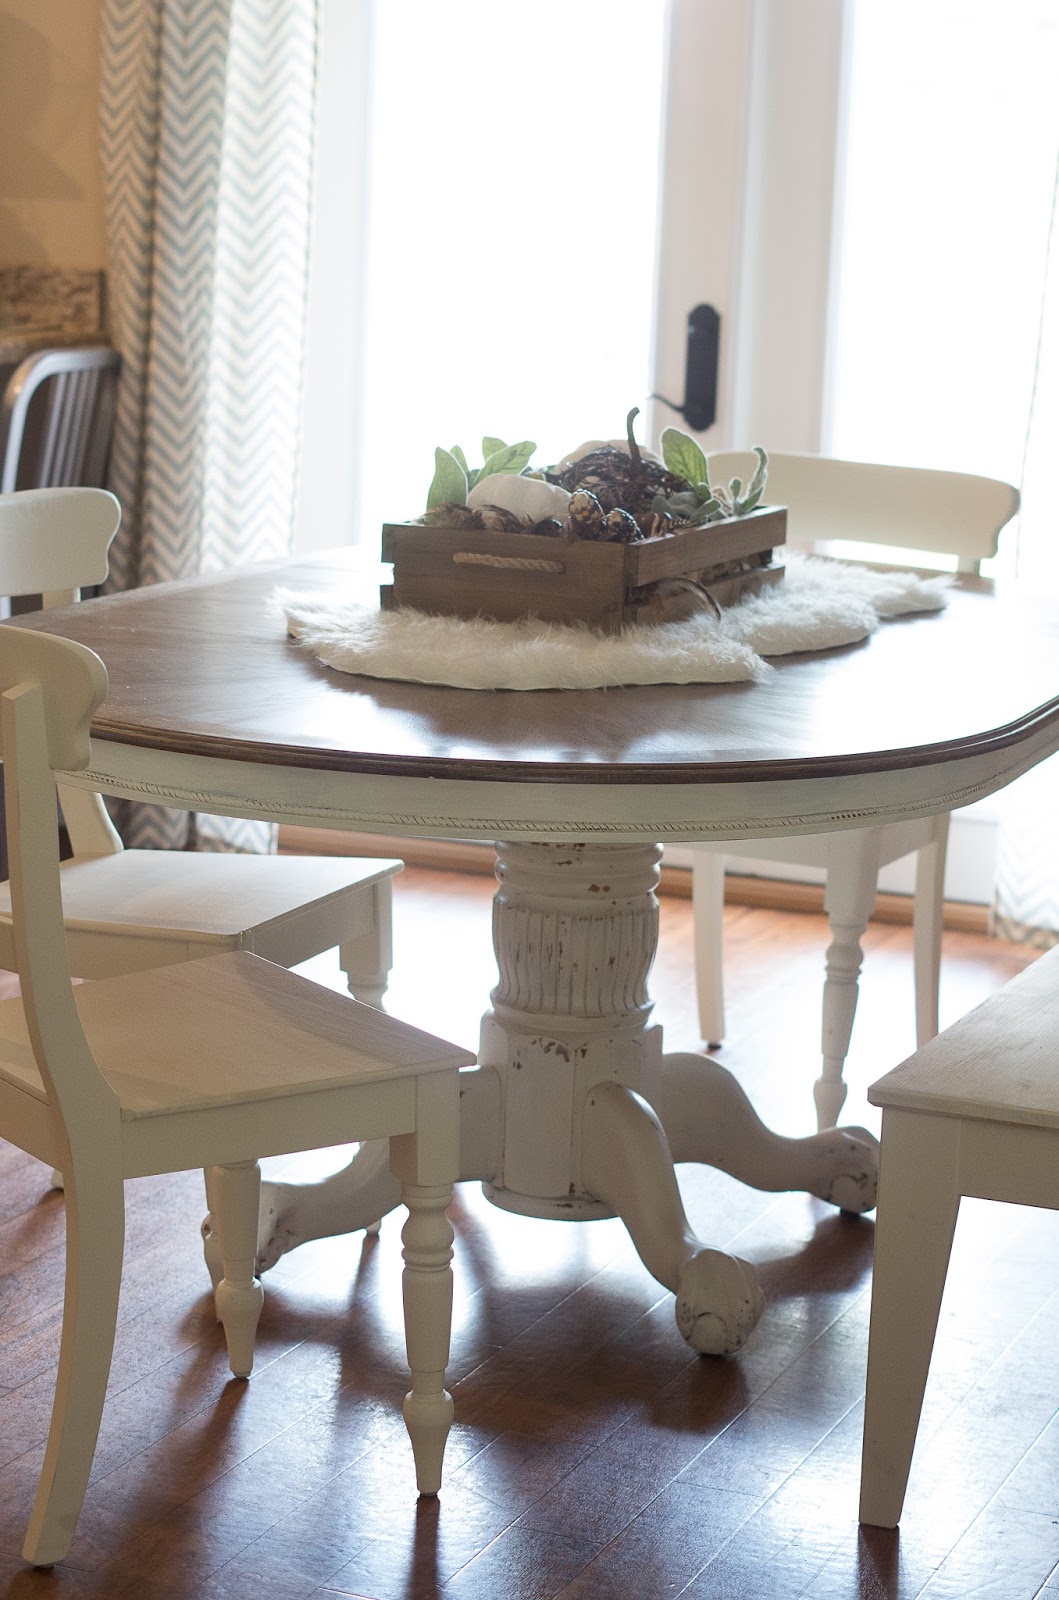
We had plans to keep our old chairs and add head chairs, but one was kind of broken and they were all upholstered (3 kids under 6…not the best plan). So I started searching for new chairs and found these School House chairs at Restoration Hardware. I LOVE how they look with the table, but I still haven’t received my final chair because several have arrived damaged and have to be shipped back. Customer service is really good about helping, but it has been frustrating.
Since I can’t have all the seating be the same 🙂 we added a bench to one side. The kids really like sitting on a bench for dinner, and it fits the space perfectly. Patting myself on the back. It is the Nornas bench from Ikea, and comes in an unfinished pine. So I just painted it white with the same Milk paint, to match the chairs. The last step was that I sealed the whole table with General Finish Water based polyurethane. Water based so that it doesn’t yellow. I went with a flat finish.
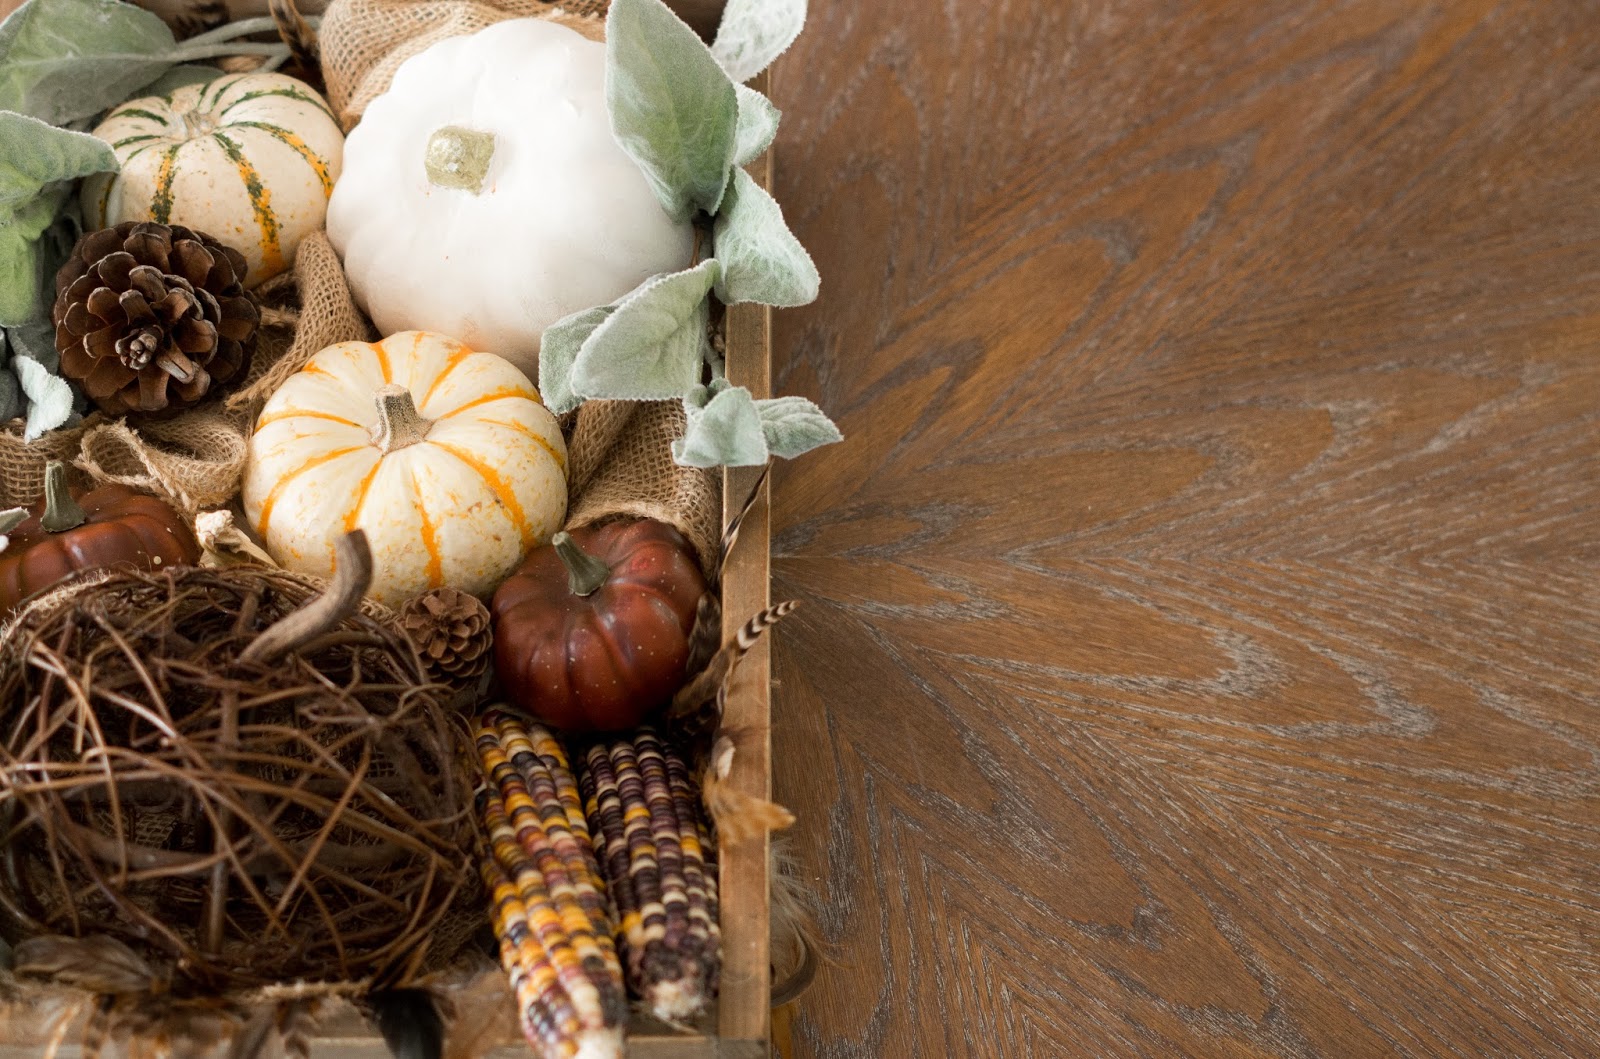
Here is one last look of the new stain. No more orange!! Hope you enjoyed!!


