
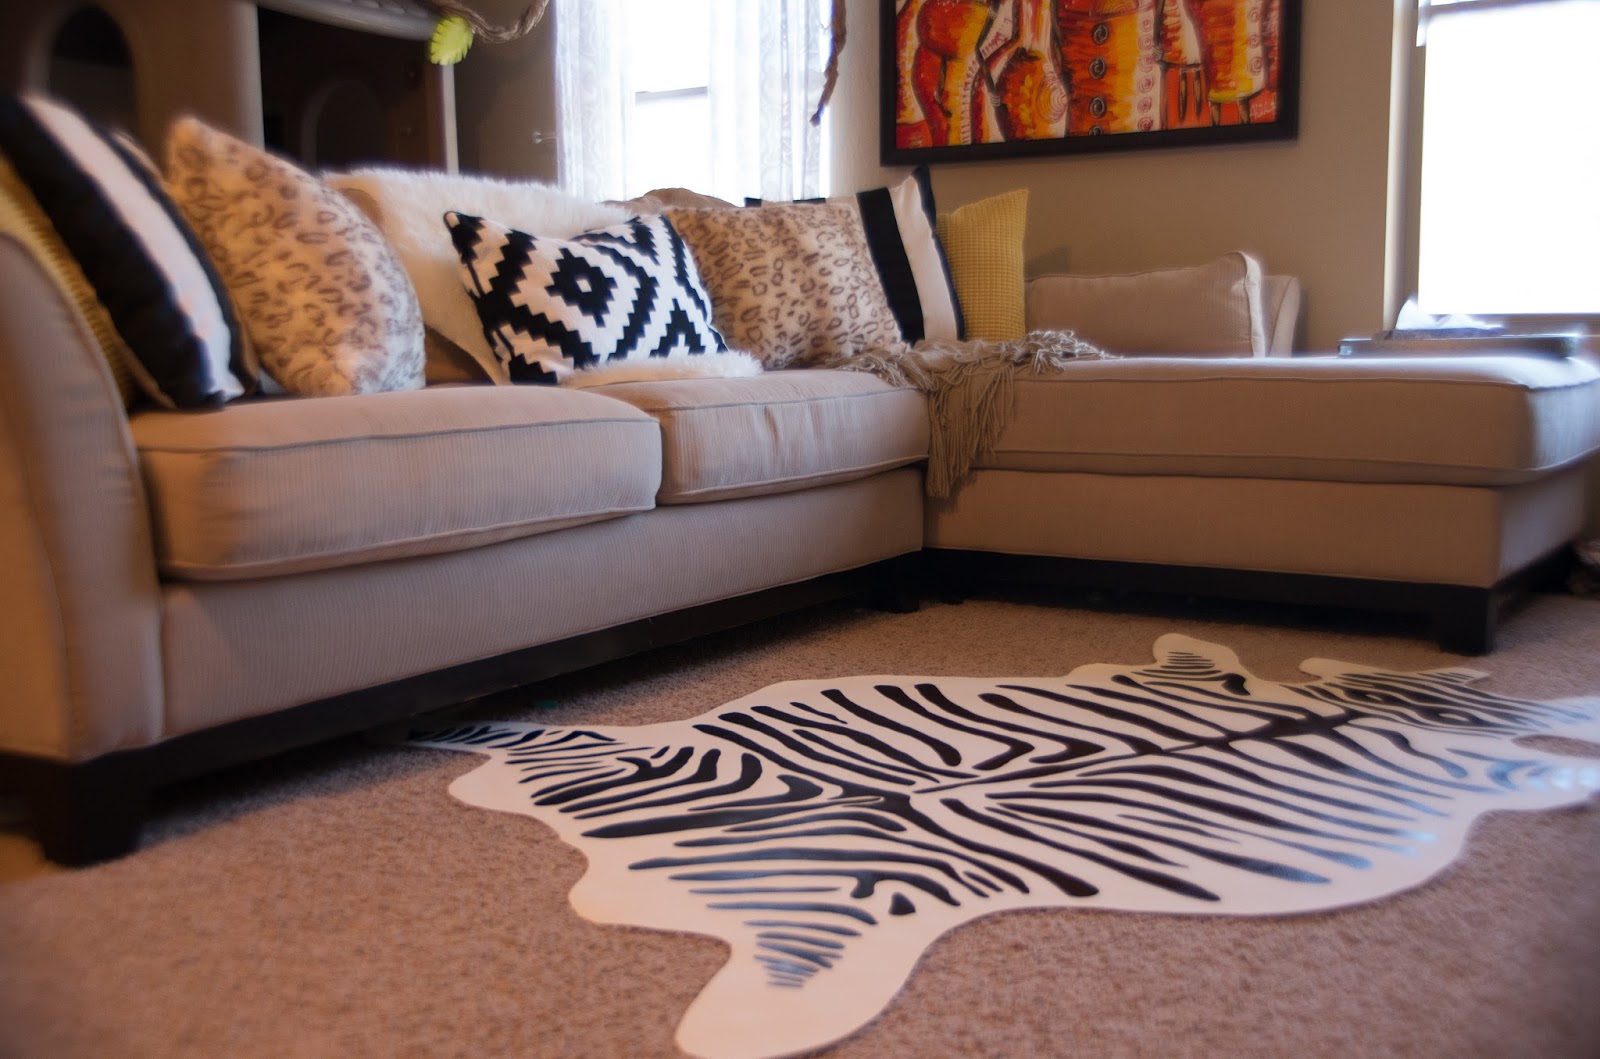
When I started doing this room and moving into a different direction the zebra rug was a big focal point. But…I did not have a faux zebra rug budget. So I did a little research (aka Pinterest!) and decided to make my own. And here is my tutorial version 🙂
I started off with a drop cloth, and while it would have worked, it was flimsy and really hard to color the pattern. Plus I didn’t want to paint the whole rug like some tutorials suggest. So, I saw this tutorial and decided vinyl was the way to go!
I purchased the vinyl from Joann Fabrics. I didn’t use the Marine vinyl, it was less expensive but also felt like plastic to me. The vinyl I ended up using is soft, almost suede like and well $24.99 a yard! Of course, I didn’t pay that! I used a 60% off coupon so I walked out with 2 yards for $20. So if you’re going to do this, WAIT for a good coupon!! Also you will need paint pens in whatever color you want the stripes to be. Go ahead and get these with a coupon too…they are rarely on sale.
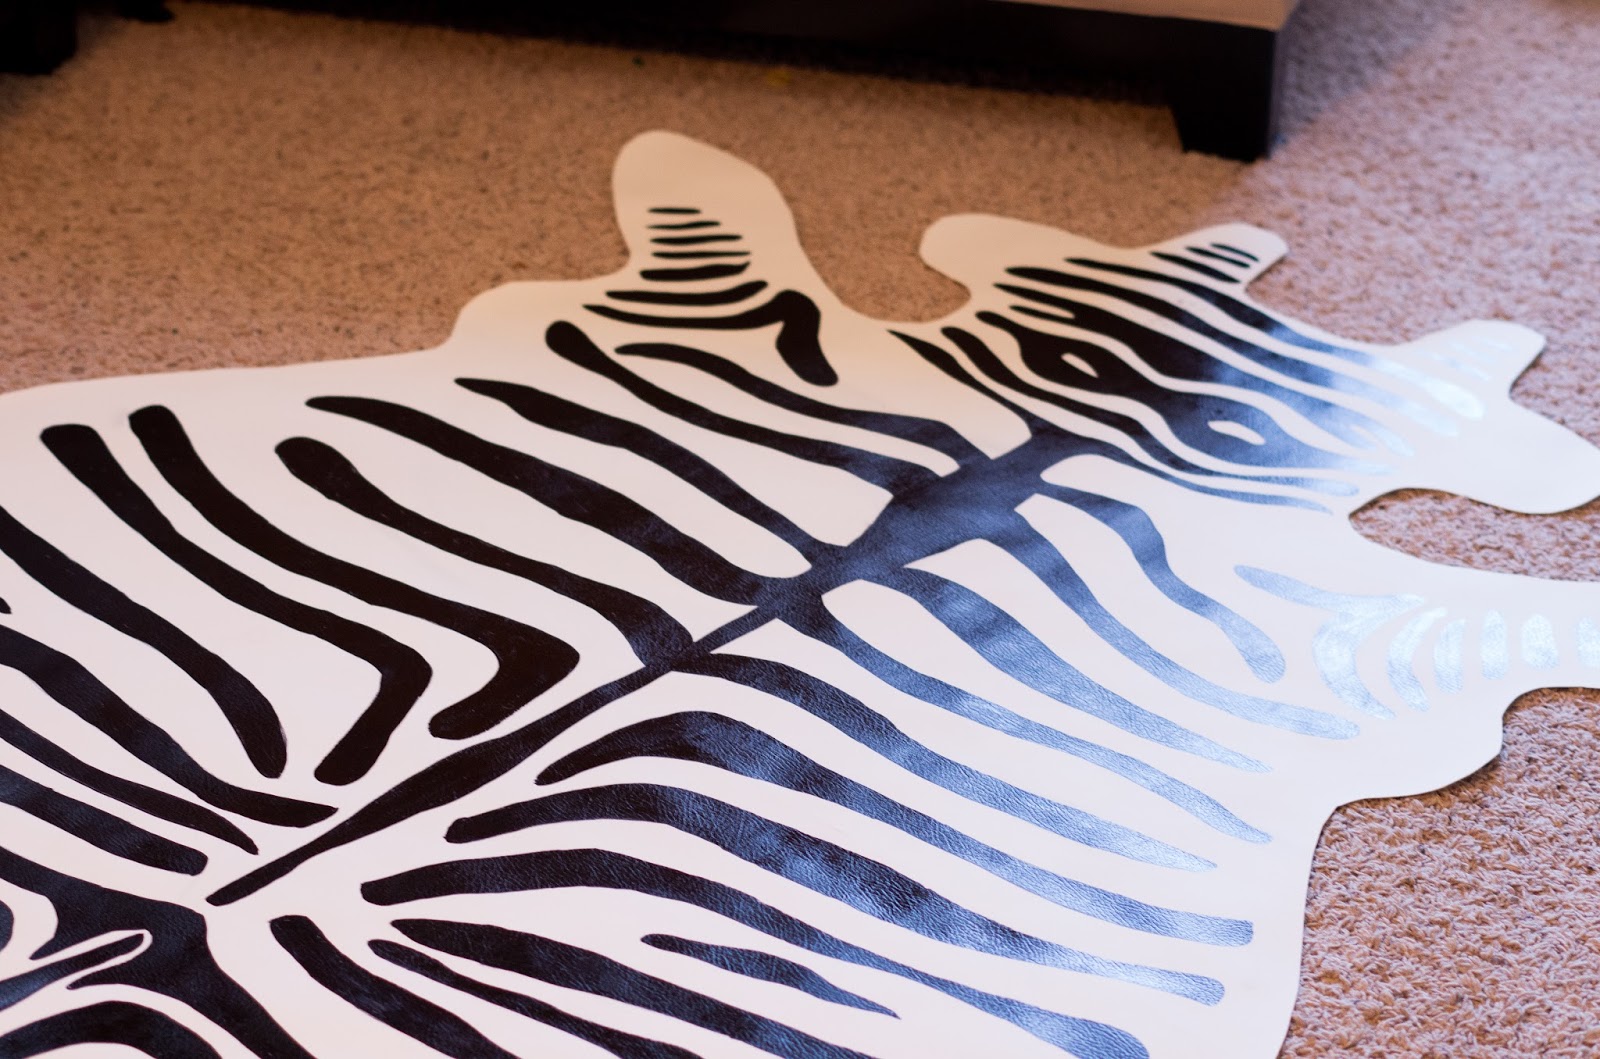
I had already cut out the pattern once so, I just laid my old pattern on top of the vinyl, traced with some colored chalk and cut it out. Originally, I used a cowhide shape from the internet to get the shape I wanted.

Next came the stripes. I googled faux zebra hides, and sort of eye balled the pattern. The other tutorial used craft paper, but that was too many steps for me. Instead I used a washable dry erase marker and if I made a mistake I could just wash it off and fix it.

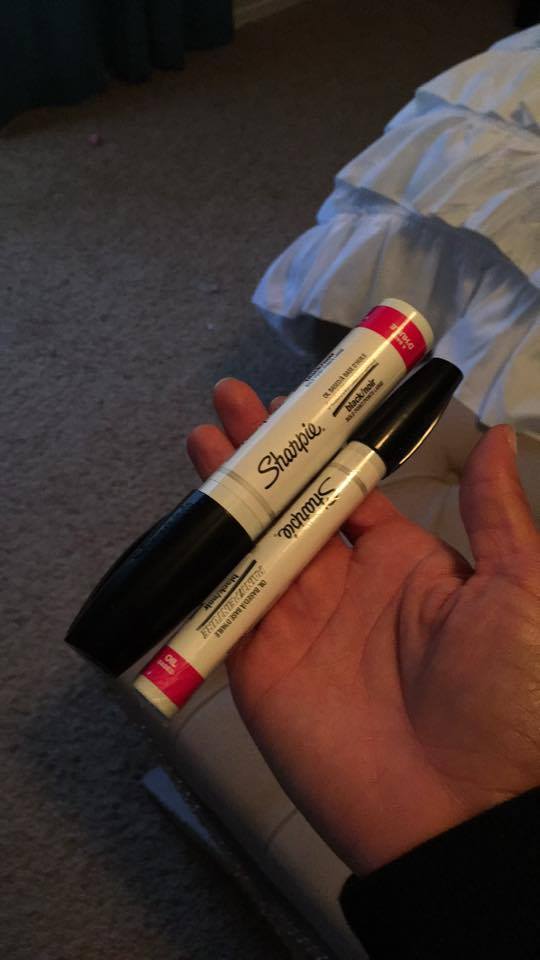
Then came the coloring. The vinyl was nice a smooth so it was totally like coloring with markers on paper (WAY easier than the drop cloth) I used these 2 kinds of sharpies. They are the paint ones that you shake. I used the thin tip to outline and I did long strokes to color in with the broad tip. It went really fast, once I got started.
And here is the finished rug! I love how it turned out. And it only cost me about $25.
I have a couple more things to finish up before the room is “complete” (in quotes because this room will change again as the kiddies get older) But here is a look at before.

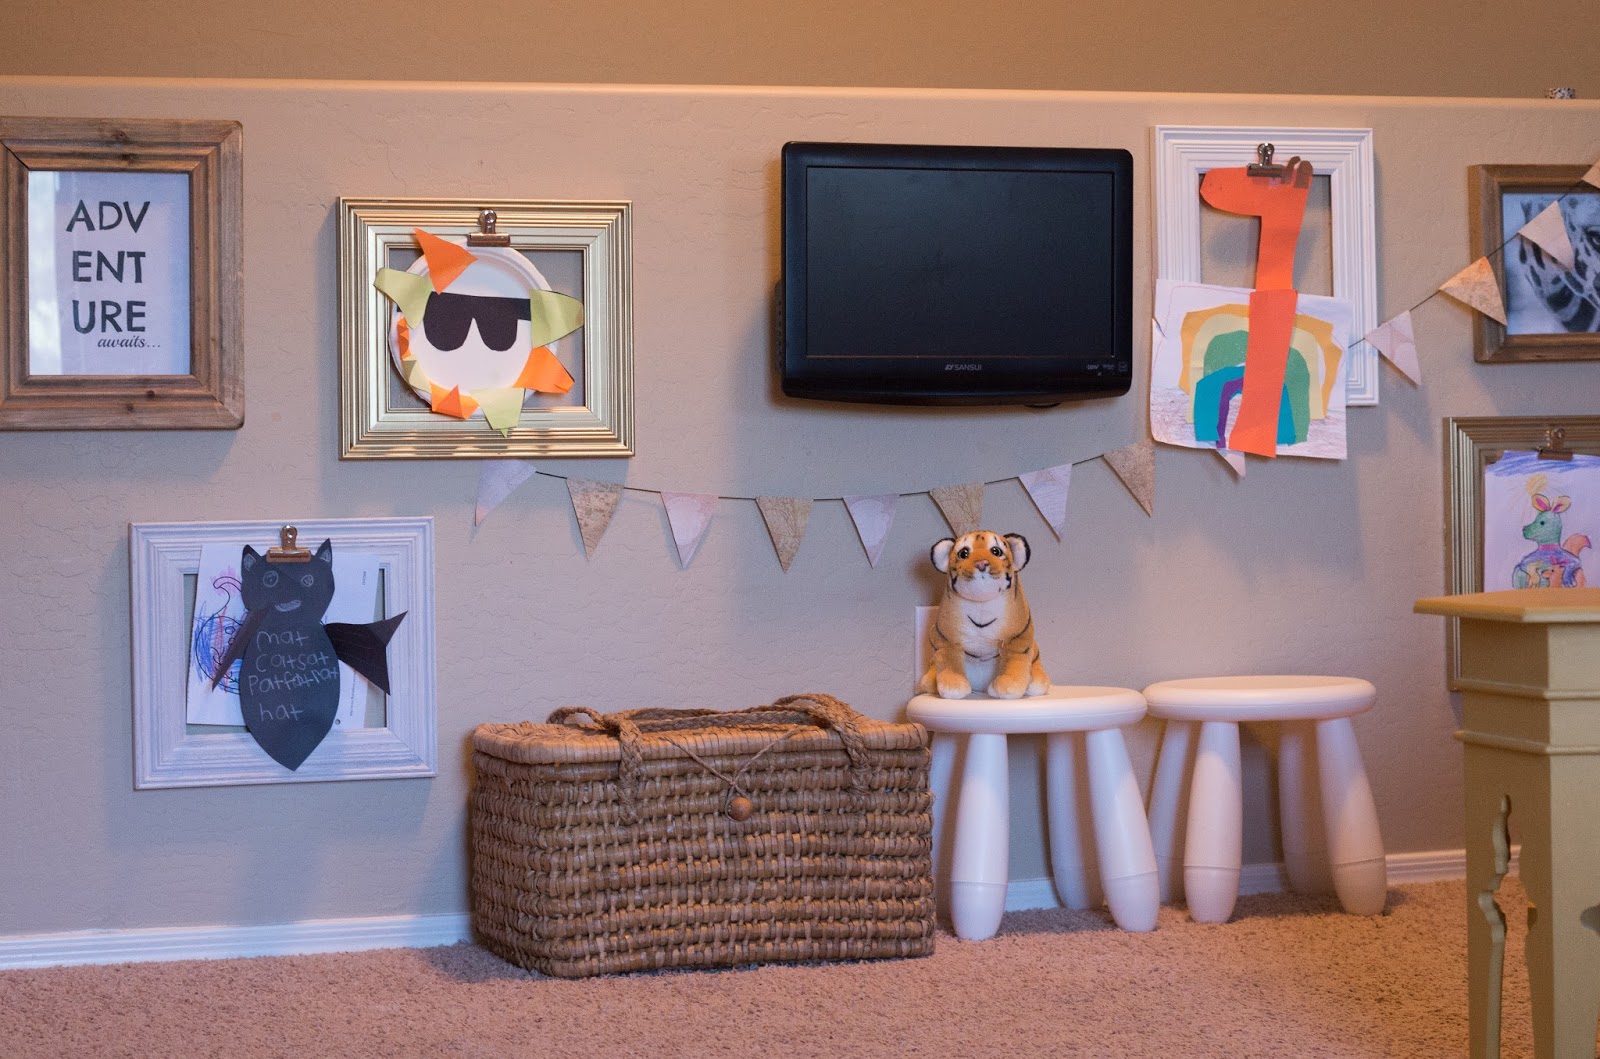
And here are the changes so far…


Hope you enjoyed!
